Introduction
Nail Art Journey for Beginners.
Now, are you ready to unveil the nail artist in you? The world of nail arts – where your creativity meets itself on your fingers. This is to equip you with information and techniques that will make designing wonderful patterns with ease if you are a novice in nail designing or if you want the designing process to be simple.
Simple and easy techniques to prep stage.
Do not let the nail art tutorials look so complicated to scare you. As a result, we shall start with basic, novice practices that are simple to comprehend and become perfect with no expertise. Additionally, we will use readily available tools for nails and other accessories. This means that you will be saving yourself cash since you won’t be buying expensive nail-art kits.
Basic Tools and Supplies
Essentials for Budding Nail Artists-Nail Art with Simple Techniques
Nonetheless, before plunging into the nail art adventure, you need some necessary tools and supplies. Here’s a basic starter kit to get you going:
Starter Nail Polish Collection:
• Base Coat: This offers a tight grip on your manicure which prevents the paint from chipping or fading.
• Top Coat: It sheen’s up the design and make you wanna hide this shit.
• Neutral Colors: However, they will simply serve as settings for different designs. Consider standard tones such as cream, gray, white, or black.
• Pop of Color: Go ahead, pick several bright or metallic colors to add a personal touch and contrast to your design.
Basic Nail Art Brushes and Tools-Nail Art with Simple Techniques
• Dotting Tool: As such, it results into perfect dots in various shapes for playful and geometric patterns.
• Nail Art Brushes: It is ideal to use fine-tipped brush for creating line, swirls and other details.
• Nail Polish Remover: For corrections and making amends.
• Cotton Pads: This brush is used to remove excess polish and clean up spills.
• Toothpicks: They are used in dotting and line dragging for the simple patterns.
Now that you are armed with the above foundations, you can start to delve into some simple but fantastic starter nail art skills!
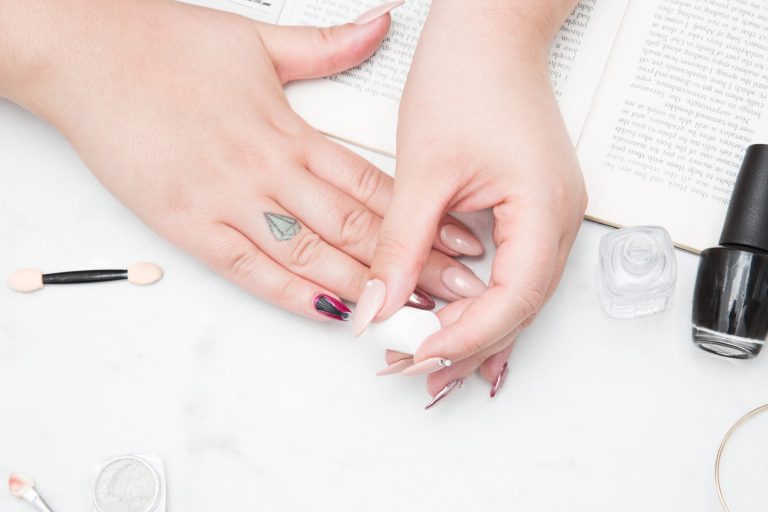
Nail Preparation for Beginners
Simple Nail Care Routine-Nail Art with Simple Techniques
Make them art perfect and forever from the very beginning, preparing. Here’s a simple nail care routine for beginners to follow:
Nail Trimming and Shaping:
• Rather than making curved cuts with nail clippers, make straight cuts that will prevent snags.
• Ensure that you use scissors on them and keep everything even at the ends.
Cuticle Care and Moisturization:
• Pour warm water in the bowl and use it to warm up your fingers. Shut them up for just a few minutes and cut them off.
• Move the soft orange woods stick back onto each cuticle after every cut
• When it comes to you ensure that you use cuticle oil or any form of cream, which helps in avoiding dryness.
Tips:
• Ensure that you wash your nails carefully with soap and water. Ensure the nails are clean before you apply nail art.
• It will serve as a base coat for his nails and also hinder staining of nails from any direction.
Basic Nail Art Techniques-Nail Art with Simple Techniques
Solid Color Application-Nail Art with Simple Techniques
Once should also have a single color until perfection is attain for every time you do your nail art journey. Here’s how to achieve a professional-looking finish:
Achieving a Flawless Base Coat:
• Be sure to apply a very thin layer on all the nails including the ones on the nail beds.
• Also, the chosen color will need to dry up for a while before laying the foundation of the entire painting.
Tips for a Smooth and Even Finish:
• Dip a brush into the polish bottle, and carefully clean the rim of the polish container.
• Dot little colours on the middle part of the fingernails, and move the colours to the outside.
• Smooth unbroken strokes without any dripping or bubbling.
• For better tone, only do a maximum of two to three layers applied in a thin coat.
• Let the air dry on each coat completely before reapplying.
• It is advisable to use a Dotting tool or Tooth Pick to scrape off the extra polish around your cuticles.
• Apply top coat to make it durable and shiny.
Tips:
• Begin with practicing strokes on paper and/or unpolished nail to create a foundation for your work.
• Be sure not to pull the nail with the polish in the process. This is the way you make scuffs and other scrapes in the nail.
• In order not to smudge or make a mistake, fast-drying nail polish, specifically formulated for beginners, is used.

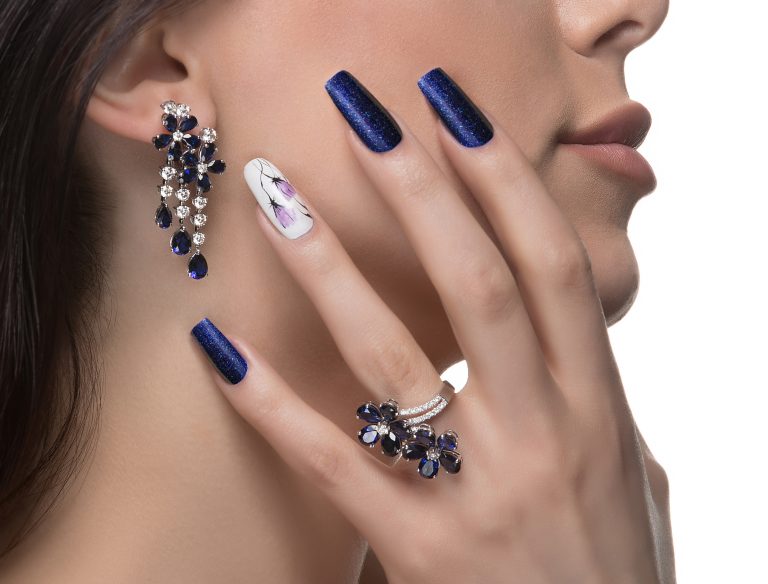
Accent Nails-Nail Art with Simple Techniques
Introducing Accent Nails for Variety
One accent nail would suffice to add a new touch on your overall look that will also show your creativity.︙ Have one or two accent nails out of the rest by going for contrasting color, simple design or small detail.
Simple Design Ideas for Accent Nails:
• French Tips: Paint the tips of an accent nail with a contrasting colour or metallic shade for a classic style.
• Dots: Make a dotted pattern using a dotting tool or a toothpick of various dots.
• Lines: Draw simple lines and geometric shapes with a thin nail art brush.
• Glitter: Brighten up your accent nail and make it pop by adding glitter polish on it.
• Stamping: Intricate designs are simple to make with nail art stamping plates and polishes.
Tips:
• Choose matching color of nail paint and simple yet compatible accent nail design to go along well with it.
• Items of colors that are contrasting would have a greater effect.
• Experiment with different types and pick the ones in line with your fashion style.
While being a starter, you can still stick to these simple tips and techniques that will enable you to come up with impressive and long lasting nail art. Practice does make perfect right? So, never be afraid to explore and enjoy.
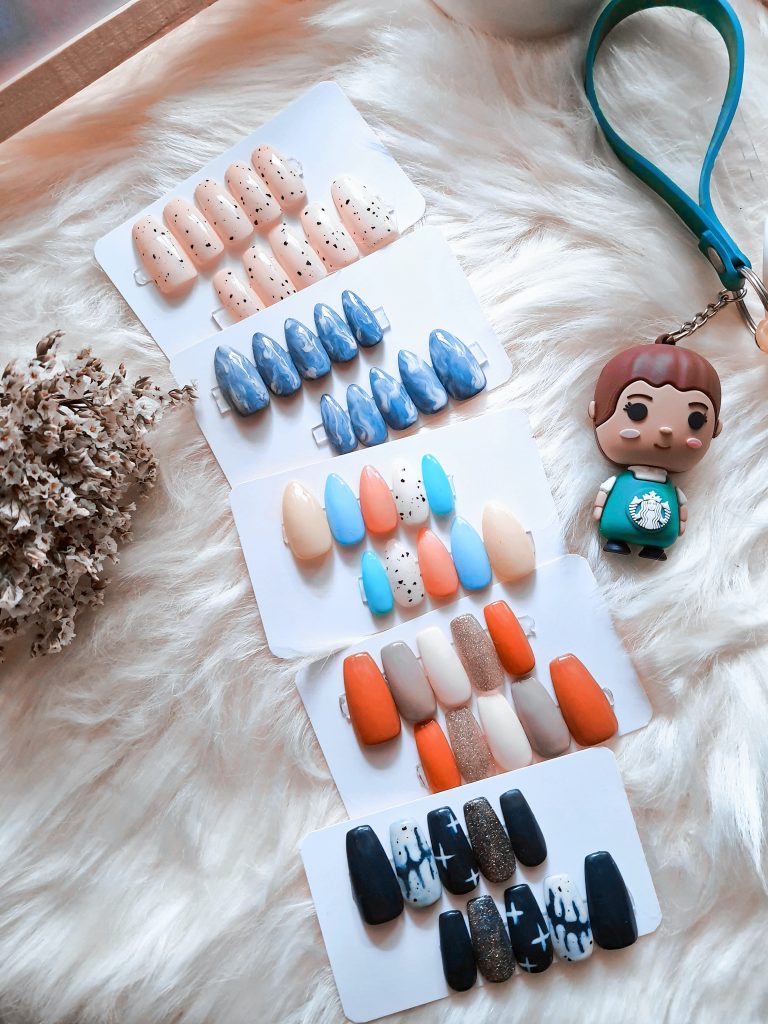
Beginner-Friendly Nail Art Designs
With all the information concerning prepping and applying nails, lets now look at some simple nail designs for beginners.
Hearts and Stars
Simple Heart and Star Designs for Beginners:
• Heart Design: Put some pink or the red nail polish on the tip of a toothpick dotter or a dotting pen, and then create little hearts on your fingernails with it. They are arranged either randomly or according to an order.
• Star Design: Using a thin nail art brush, draw simple star shapes on your accent nails in a white or gold polish.
Adding Charm with Easy Shapes:
• Polka Dots: Use a dotting tool or colored pin and do your polka dots, you know.
• Stripes: Modern and stylish looking nails could be created by outlining with thin nails art brush into straight or diagonal lines made by different colors.
• Chevron Pattern: Forming a chevron pattern using diagonal alternatively colored lines.
Tips:
• For accurate and perfect work if you cannot freestyle then use a stencil or nail art stickers.
• In case of any errors around your design, use a toothpick to correct them.
• To have more sparkle, add a bit of glitter or rhinestones.
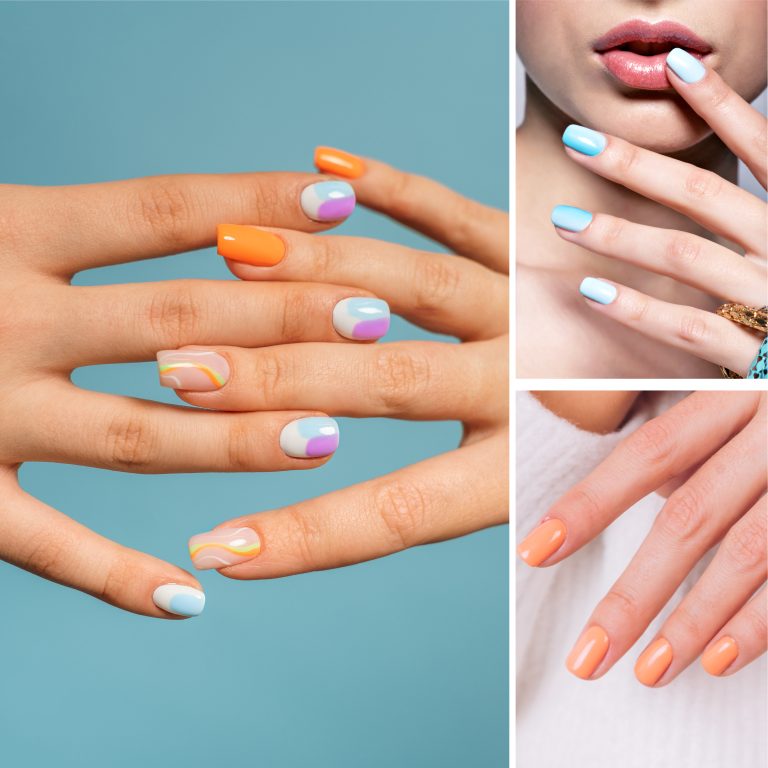
Floral Accents
Basic Flower Designs for Beginners:
• Simple Daisy: Using a dotting tool, you form a yellow centre and draw the white petals around.
• Five-Petal Flower: Draw five small petals surrounding a dot with a thin brush and selected colours.
• Flower Buds: Make small, round, unevenly shaped forms in a range of tones and these forms will represent flower buds.
Incorporating Floral Elements into Your Nail Art:
• Floral Vine: Use a thin vine like line across your nail and put small flowers and leaves along it.
• Floral French Tip: To achieve a unique feminine look, a different approach should be used here instead of a straight line; create a French tip with a floral outline.
• Accent Nail Floral Design: Design a more complex flower on your accent nail using some dots, lines, and small flowers.
Tips:
• When trying new floral designs, make reference to a picture as an inspiration.
• Sketch the flowers on paper and then transfer it to your nails.
• Choose vibrant color scheme to achieve lively and catchy floral design.
Just know how to enjoy as you get creative. Be willing to try out different color combinations, shapes, and techniques so that you can ultimately develop your own individual style. In no time, you probably will be shocked by the amazing patterns that you will design upon your nails.
Conclusion
Congratulations! Well done on your first foot forward in novice nail art. Having obtained knowledge and techniques, it is possible to make neat marks and even on fingertips as outlined in this discussion. Practice is what makes a man perfect, hence don’t be afraid to give a shot.
On the other hand, subsection two talks about the importance of having communication in the workplace. Thus, let your inner nail artist be free.
FAQs
Q: What are the basic stuff for the beginner?
A: A newbie nail artist’s must-have tools and products.
• Nail polish: The paint is based on a layer and a top coat.
• Nail art brushes: A tip dotting tool made with quality tipped brush especially for dotting.
• Nail polish remover: This is to ensure that it is easy to make amendments and minimize errors.
• Cuticle oil or cream: Maintain healthy nails and cuticles.
Q: what are some simple nail arts that a beginner could go with?
A: These are easy steps to nail art designs which starters can explore at their homes.
• Solid colour application: Such a classical and clean look is achievable by every body.
• French guidelines: This elegantly designed piece is appropriate for any setting.
• Polka dots: To create this funny and funny looking design, it is a handy dotting tool.
• Stripes: The use of a skinny nail art brush produces a modern, trendy type of art.
• Simple floral designs: The symbol “flowers” is one of those easy-to-choose symbols in nail art.
Q: How does one correct mistakes in common nail art?
A: Correcting some of the common nail art mistakes.
• Smudges: With a small brush dipped in acetone or nail polish remover, clean up any mess made around your design.
• Bubbles: It is advisable to apply thin layers of polish between each successive coat and allow each layer to dry.
• Streaks: Ensure that you apply the polish on your nails as smoothly and evenly and do not draw your nail comb along the nails.
• Chipping: Therefore, use the best coat and top coat for more protection and do not use nails as tools.