Introduction
How 3D Elements Can Be Used for Higher Nail Art
Nowadays, the nail art has moved from simple designs to complex three dimensional works of art. The inclusion of 3D elements has taken the art to another level, where nail artists and lovers can now freely show their creativity. Nails are supposed to incorporate several details that are designed to give depth, texture, and dimension, which makes it an art work.
Beauty of 3D nail designs.
3D nail art offers several advantages over traditional designs:
• Uniqueness: These are just some of the nails with 3D elements and other touches that help improve nails.
• Versatility: Delicate flowers and bold geometric forms are included in the range of 3D designs which can be tailor-made to suit any style or event.
• Impact: These 3D nails are certainly captivating and undoubtedly will make heads turn.
Advance look on nailing the 3D elements-3D Elements in Nail Art
This guide will offer you the best ways and the necessary equipment to make excellent 3D nail art. We’ll discuss supplies you’ll require as well as various techniques to get your nail game up a notch.
Essential Tools and Supplies
Your 3D Nail Art kit. febbra–3D Elements in Nail Art
To kick start your 3D nail art journey, you have to possess a box full of tools specific for the process.
3D nail gels and acrylics-3D Elements in Nail Art
• 3D gel: This type of gel is best for raised and shaped items. It dries when exposed to UV or LED lamp, and keeps its shape.
• Acrylic powder: Here is the typical blend of powdered acrylic and liquid monomers which easily takes up any desired shape or texture. For a 3D design, acrylic is a hardy material that can endure the tests of time. As discussed earlier, 3D Nail Gels and Acrylic.
Three-dimensional shaping and shaping-3D Elements in Nail Art
• Dotting tools: They differ in sizes and manage small dots.
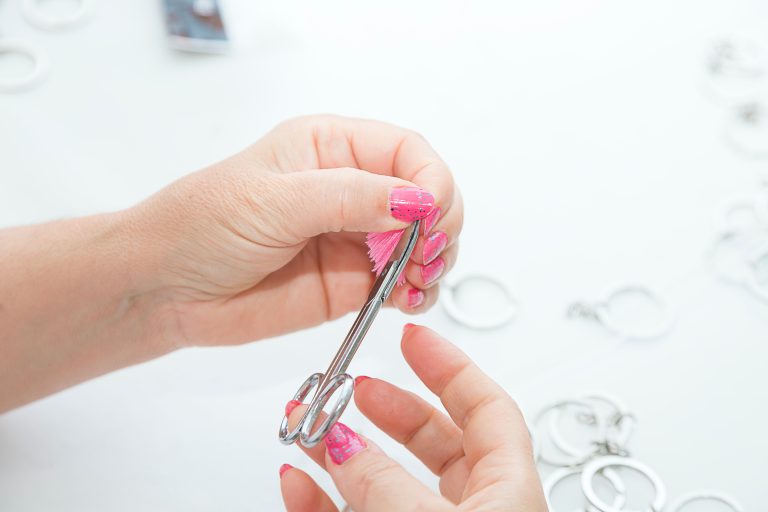
• Beads and rhinestones: They are shimmering, multidimensional jewel like items that emphasize the three-dimensional aspect of a design.
• Brushes: The 3D Gel fine and acrylics should be applied using a well pointed applicator.
• Nail art molds: The three dimensional element is relatively easy to make using pre-shaped molds. 3D nail art dotting tools. 3D nail art, bead and rhinestones. Subsection : Discuss the different types of marketing strategies used by Apple. Fine-tipped 3D art brushes. Nail art molds.

Alternative approaches for 3D-nailart.
Now that you have your tools ready, let’s explore some basic techniques for creating 3D nail art:
Sculpting with Gel-3D Elements in Nail Art
Gel polishing with UV lamps is okay.
Dotting tool drips a few drops of the 3D gel.
A 3D print curing lamp.
The last one is for the top gel polish.
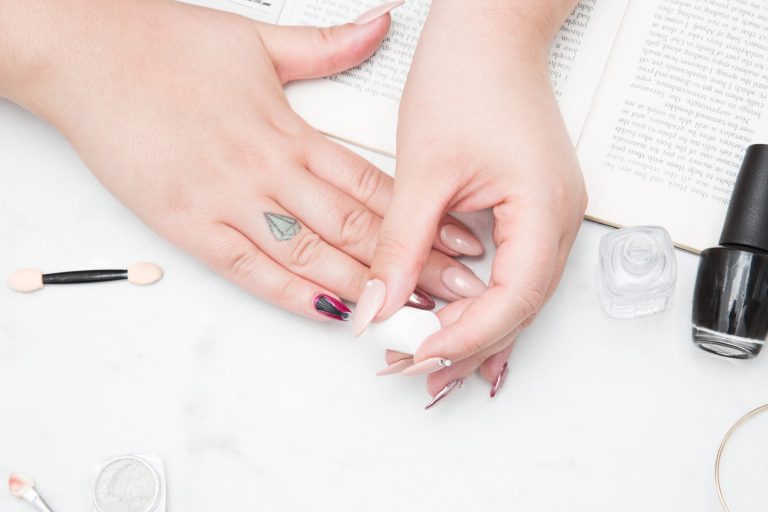
Applying Acrylic Powder-3D Elements in Nail Art
Apply the acrylic primer as the base coat on the nail.
Mix a thick paste of acryl polymer and monomer liquid.
In progress, paint the acrylic blend on the nail with a brush or a sutiable tool molding it as you paint.
Dry it completely with air.
Gently rub and polish an acrylic to give it smoothed texture.
Lastly, seal with a clear coat of gel or regular nail polish.
Using Molds-3D Elements in Nail Art
Allow it to dry for a few moments and then cure it under the UV lamp. Begin by using a single layer of regular gel polish.
Fill your mold using a 3D gel or a mixture of acrylic powder and liquid.
Use a mold to put pressure on the nail and cure it with a lamp.
Carefully remove the mold, and then apply your last coat of gel polish.
embellishment using beads and rhinestones-3D Elements in Nail Art
Apply your 3D design using one of the techniques highlighted above.
The beads and rhinestone should be affixed to the design using a dotting tool or tweezers.
A little glue or acrylic and tie them down.
These are just a few basic tips to get you started. One can practice to perfection in order to be good at 3D nail art.
Inspiration and Additional Resources
For more ideas, one may look at various online resources, as well as nail art tutorials for countless 3D nail art designs. Instagram and Pinterest are amazing platforms that one looks into when seeking for great nail artists who can help in designing nails.
In addition, take extra steps such as registering for online classes or joining seminars from experts.
Advanced 3D Nail Art
Once you have got a hold of the basics, you can then proceed to the 3D nail art. Here, you will see intricate patterns, daring pieces of jewellery and artistic self-expression.
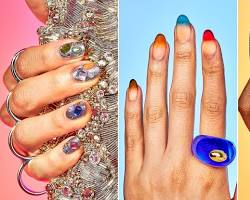
Intricate 3D Designs
Sculpting Detailed Characters and Scenes-3D Elements in Nail Art
These modern tools that include styluses and other objects that can hold still allow us to carve tiny characters, objects or even scenes onto your nails. This is limitless opportunity from known cartoon till the minor landscapes.
Here are some tips for sculpting intricate 3D designs:
• Use high-quality materials: For precision, use some professional 3D gel or even acrylics.
• Fine-tipped tools are key: Inject sharp pointed brushes, dotting tools and sculpting spatulae for more effectiveness.
• Plan your design: Make a design before the actual production process and divide it into small manageable parts.
• Build gradually: Never forget to layer on your wardrobe. Start with a simple layer and add some details.
• Practice patience: Additionally, the complex patterns require equally as much work. Apply the next layer when each one is dry.
Working with complex 3d nail art projects-3D Elements in Nail Art
• As you tackle more complex designs, remember these tips:
• Work with one nail at a time: This way; you will ensure that no damage and smears appear on the product.
• Clean your tools regularly: The accuracy would be spoilt so much if it gathered some dirt in you. Clean your tools with acetone or alcohol each time you use them.
• Utilize reference images: The guide towards the path of your design should be visually clear.
• Don’t be afraid to experiment: Modern 3D nails lack any limitation on creative art. Just try it, but don’t be afraid to fail.
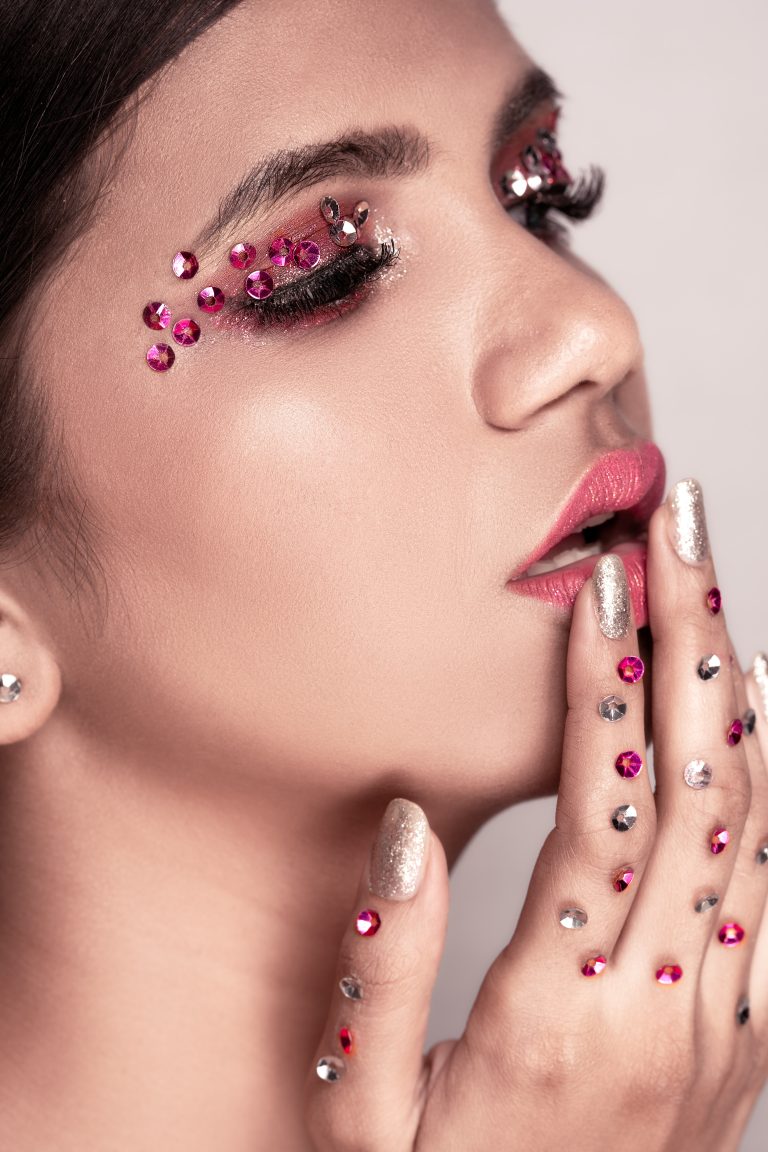
Incorporating Gems and Embellishments-3D Elements in Nail Art
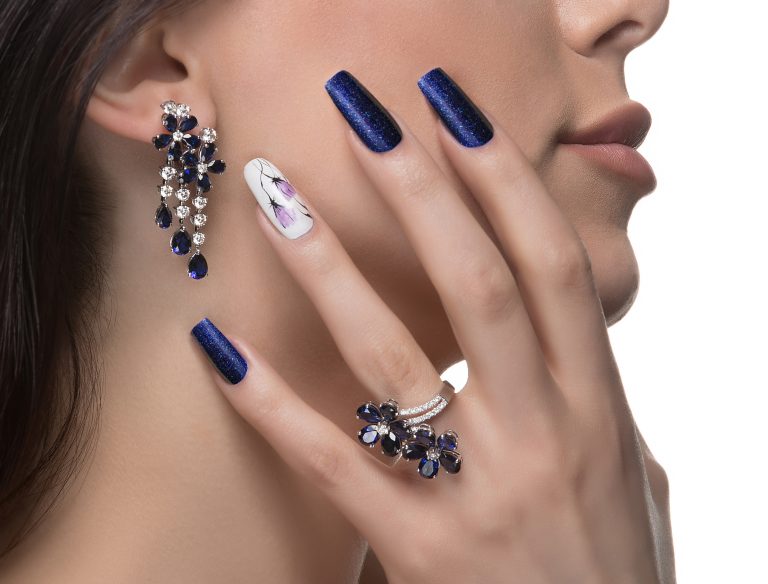
Gem enhanced three dimensional crystal.
In addition to glitter nails, crystals gems ornaments could also be considered as another way to create luxury and glamour. Alternatively, bright and glowing accent notes will teleport you to another world and give your design a masterpiece taste.
Here are some tips for incorporating gems and embellishments:
• Choose high-quality materials: Second, go for high-quality crystals and stones with great transparencies.
• Consider the size and placement: Therefore, large gems act as strong statement but small gems play their role of charming and subtleties embellishments in this context.
• Use a strong adhesive: Choose the most appropriate powerful adhesive for the embellishments.
• Apply with precision: Place your gem stones using the tweezer-tip of a dotting tool.
• Seal the deal: A significant upper coat should be used to maintain the integrity of the gems.
Securing Embellishments for a Long-lasting Finish
To ensure that your 3D nail art stays intact, you have to firmly secure the embellishments. Here are some tips:
• Use a gel top coat: However, gel top-coats are more durable than other varnish.
• Apply multiple layers of top coat: In here, the gems become connected to one another and below the nail bed.
• Allow ample drying time: After the topcoat is dry, make sure you don’t submerge your nails in water and chemical solutions.
• Avoid picking or scratching: Be careful, to avoid displacing the gems.
With knowing some complex techniques and stunning extras you can push it up to unbelievable peak level of art making. Remember that there is no sky, be creative with your 3D nails!
Conclusion
With the advent of 3D nail art, one can now decorate their nails in an absolutely outstanding, as well as an incredible style, turning their manicure into a work of art. However, practicing the right techniques and taking care would ensure you look breathtaking while donning beautiful artwork. It is my hope that this complete handbook has helped you gain the necessary knowledge and equipment for the beginning part of your 3D nail art. Note, anything you come up with is permitted; therefore try different things, think out of the box, and enjoy doing it.
FAQs
What are a few critical gear I want for 3D nail art?
Here are some critical tools to get you started:
• Dotting equipment: for growing dots and small information
• Sculpting tools: for shaping and sculpting 3D factors
• Brushes: for applying 3-d gel or acrylics
• Nail artwork molds: for developing pre-shaped 3D factors
• Tweezers: for putting beads, rhinestones, and other embellishments
• Top coat: for sealing and defensive your 3D designs
What are a few beginner-pleasant 3D nail artwork techniques?
Here are a few easy techniques to try:
• Dotting: create raised dots of different sizes and colors
• Caviar beads: upload a textured effect with tiny beads
• Studs and rhinestones: upload sparkle and elegance
• 3-d gel accents: create small plant life, hearts, or other easy shapes
How can I make my 3D nail art ultimate longer?
Here are some suggestions for lengthy-lasting 3D nail art:
• Use a notable top coat and practice it generously.
• Cure the pinnacle coat thoroughly below the lamp.
• Avoid harsh chemical compounds and put on gloves when doing chores.
• File your nails carefully and keep away from snags.
• Moisturize your fingers and cuticles regularly.
• Touch up minor chips or imperfections.
• Remove your 3D nail artwork gently with acetone or a gel remover.
Where can I locate suggestion for 3D nail artwork designs?
Here are some assets for finding thought:
• Social media structures: Instagram and Pinterest are wonderful sources for nail artwork proposal.
• Nail art blogs and web sites: Many web sites and blogs provide tutorials, hints, and thoughts for 3D nail artwork.
• Online nail art communities: Join online forums and organizations to connect to other nail artwork lovers and proportion thoughts.
What are a few protection recommendations for the usage of 3-d nail art substances?
Here are a few protection tips to maintain in thoughts:
• Always examine and comply with the producer’s commands for using 3D nail art substances.
• Avoid touch together with your eyes and skin.
• Wear gloves and a masks when operating with acrylic powder.
• Do no longer use expired or broken materials.
• Store your substances in a fab, dry region.
By following these suggestions and using your creativity, you may enjoy the splendor and limitless opportunities of 3D nail art!