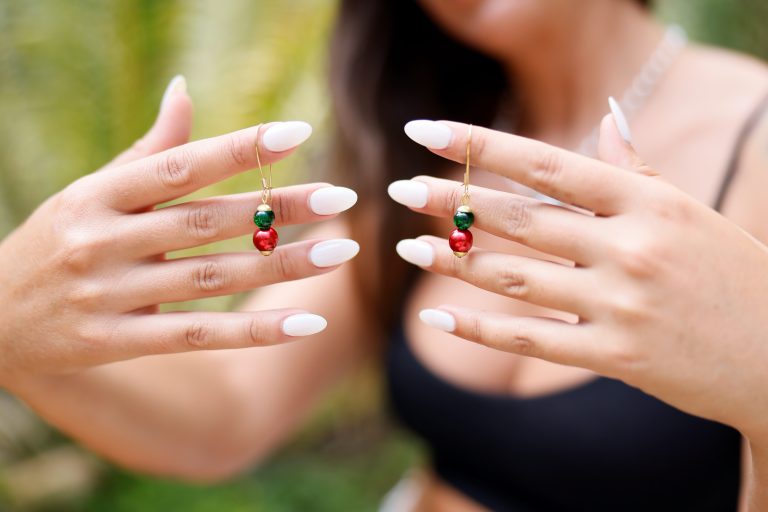
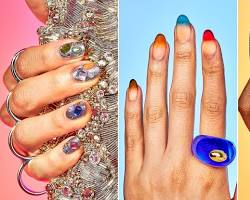
Welcome to an amazing world where minute canvasses are masterpieces and fingers become breathtaking wearable art. This comprehensive guide will take you on an adventure through the fascinating universe of intricate nail art, giving you the skills and expertise to take your Nail Art Designs to a whole new level.
Introduction
Precision Intricate Nail Art Designs.
Essentially, Nail Art Designs are all about intricate designs. It is a backdrop for minute details that form impressive pictures. A good nail artist paints just like a master painter who does not lose focus at a time, in one stroke it is precision and control.
Intricate Designs to Boost Your Nail Artistry.
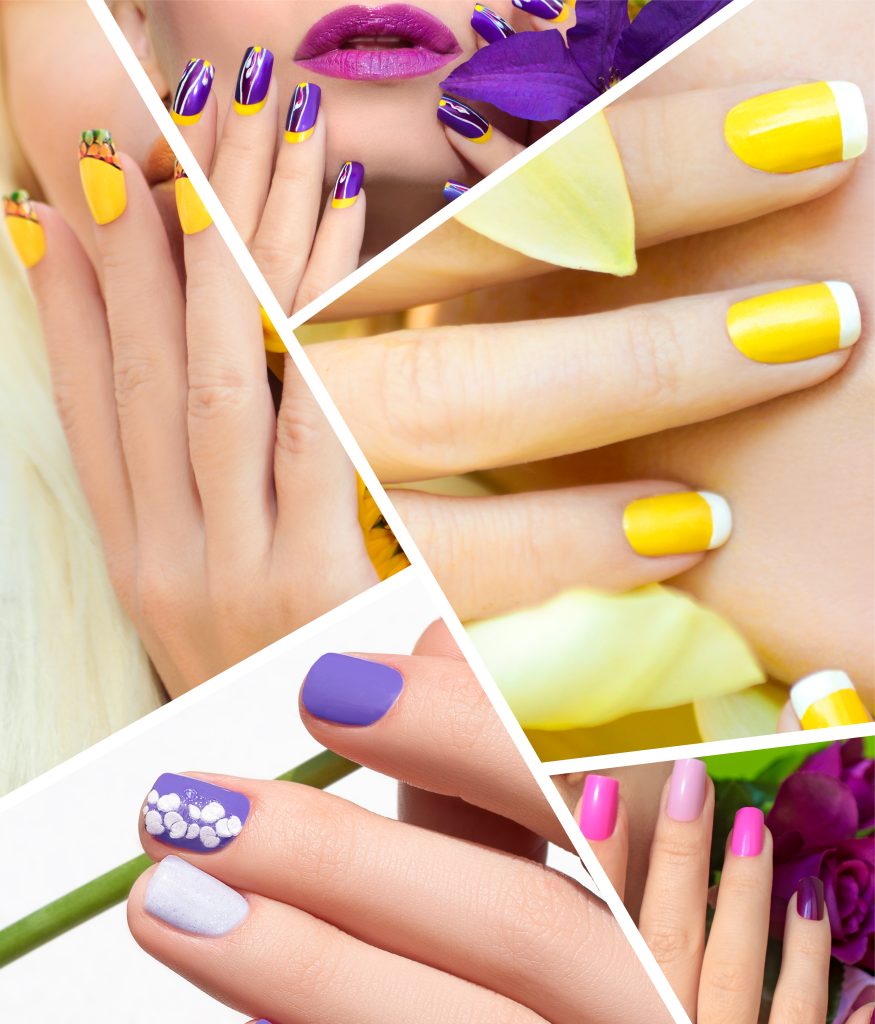
Nail Art Designs Are more than aesthetics; it is breaking rules and raising standards. It’s more than having simple manicures turned to something that can start conversations and express your own personality and style. Achieving a higher level of creativity is all about mastering intricate designs and translating it on the smallest canvas.
Detailed nail art in the beauty world.
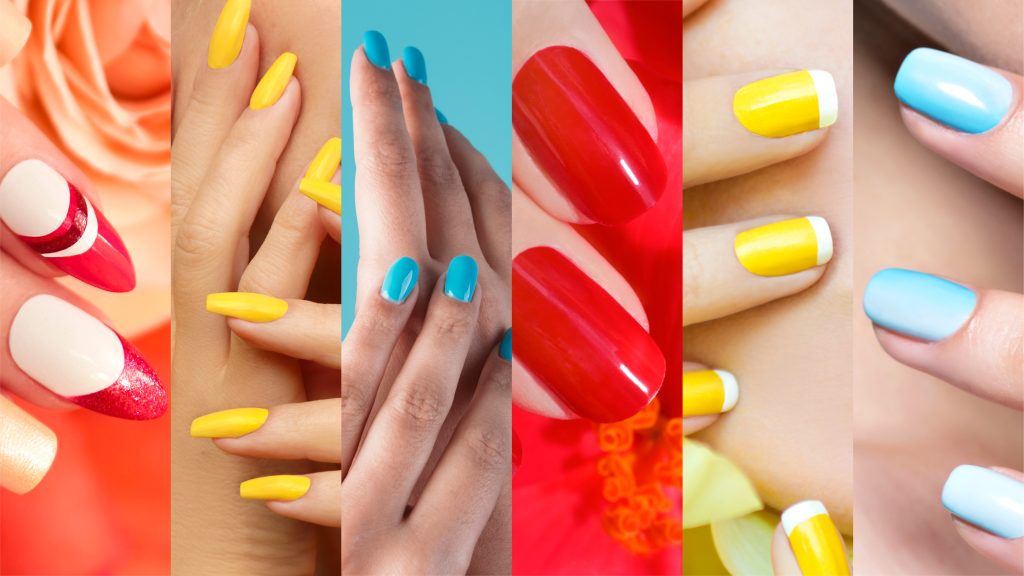
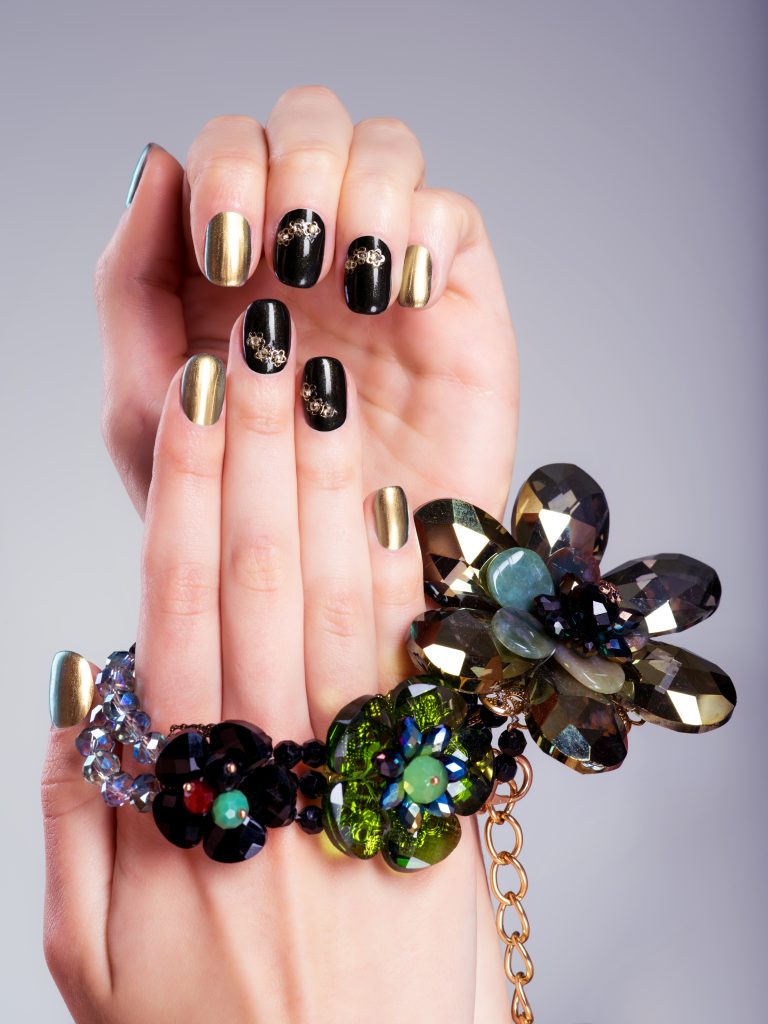
Beautiful nail decor is one of those things that change along with the beauty trends. Individualization and self expression is what it represents and it is used as a vehicle to display one’s creative flare and stand out. Delicate floral patterns to geometric master pieces, intricate nail design adds a whimsical charm of sophistication in an ensemble.
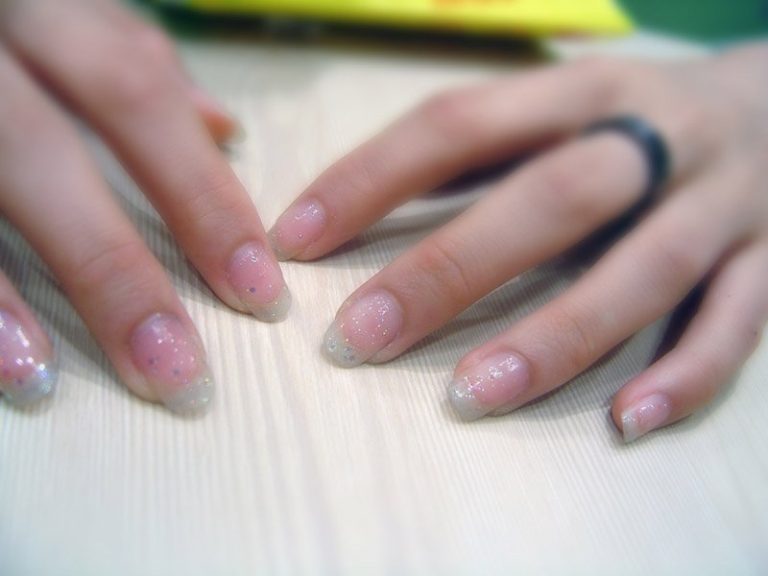
Nail Canvas Preparation – Nail Art Designs
Hence, in order to ensure that you have a solid base to commence your complex nail art walk. As every other artist does with their canvas, your nails must be properly cleaned, prepped, and completely ready for your own artistic application before applying the art onto them.
Being sure of your clean nails
Remove the old polish as well as other traces of dirt. The second thing involves soft rubbing of your nails so as to eliminate any ridges and roughness. It ensures that the nail polish dries quickly. Clean every small speck of dust, utilizing a nail brush, then apply rubbing alcohol or a nail preps cleanser to remove all the oil from the nails in order to obtain excellent bonding of other layers after that.
The intricate design holds with a base coat
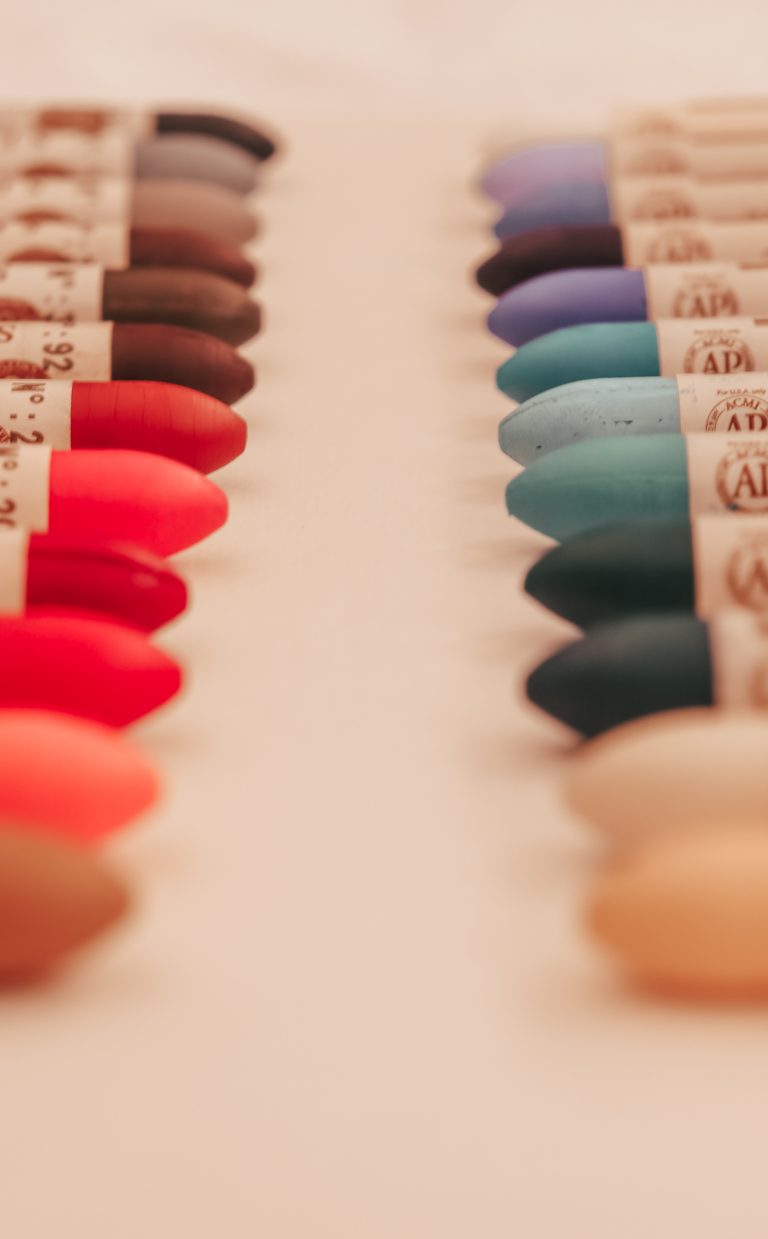
One high quality that would be worth a thought is the quality that would produce a good bose coat for ridge-filling. It would also provide a smooth and evened canvas for your art piece to ensure that the painted piece doesn’t chip off while being hanged. The lighter shade of the designs requires the use of a light color base coat while the contrasting bold style of artwork calls for a dark color base coat.
Nail buffers and their functions of making the canvas smooth
Little secrets of the Nail Art Designs buffs to achieve the desirable surface perfection. Use a gentle buffer and sweep around any remaining bumps and nicks in circles. However, excessive buffing can lead to breaking of the nails.
You need to make sure that you have a clean, prepared canvas with suitable base coat in order to begin painting complicated nail art. Chapter 3 below will look at how nails should be designed for exceptional look.
Remember, practice makes perfect! So gather your brushes, unleash your imagination, and get ready to transform your nails into tiny pieces of artwork!
Intricate Line Work and Detailing: Mastering the Art of Finesse – Nail Art Designs
In the complicated land of Nail Art Designs, line work is the head. This is the part where well organized dances strokes across your canvas, narrating amazing tales and adding charming details. Nonetheless, it is an art which requires great precision, time and proper tools to be performed.
Precision Techniques for Fine Lines:
• Brush Choice: The brush should be thin and the point fine, for instance, a 00 or 0 liner brush. Pushing is minimal as this brings about maximum control and minimum polish pooling.
• Brush Angle: Always try to maintain balance by holding the brush almost parallel to your nail.
• Short, Controlled Strokes: Resist the urge to rush! Smoothenly move along your nail from its root to the free end stroke by stroke.
• Thinning Polish: For ultra-fine lines, add few droplets of nail polish thinner. By making the product smoother and of a proper consistency, it makes the product easier to use for the more delicate work.
Incorporating Details with Nail Brushes:
• Dotting Tools: Small metallic spheres allow a person to make tiny circles, dots and anything else that is insignificant. Push the end of your brush into the chosen polish and position it atop your nail for a perfect dot.
• Striper Brushes: To get straight lines from your painting, then you need to use a striper brush. Polish the brush finely and then run it across your nail for a clear, sharp finish.
• Fan Brushes: They are mainly used in developing soft strokes, wispy hair or graduated shading. You need to brush it gently as you fan it over your nail for an ethereal effect.
Achieving Consistency in Line Thickness:
The flawlessness of line work depends on its consistency. Achieve uniformity by applying equal pressure and angle to each stroke. Use the thick lines and then proceed to the thin ones, only afterward can you add on small details.
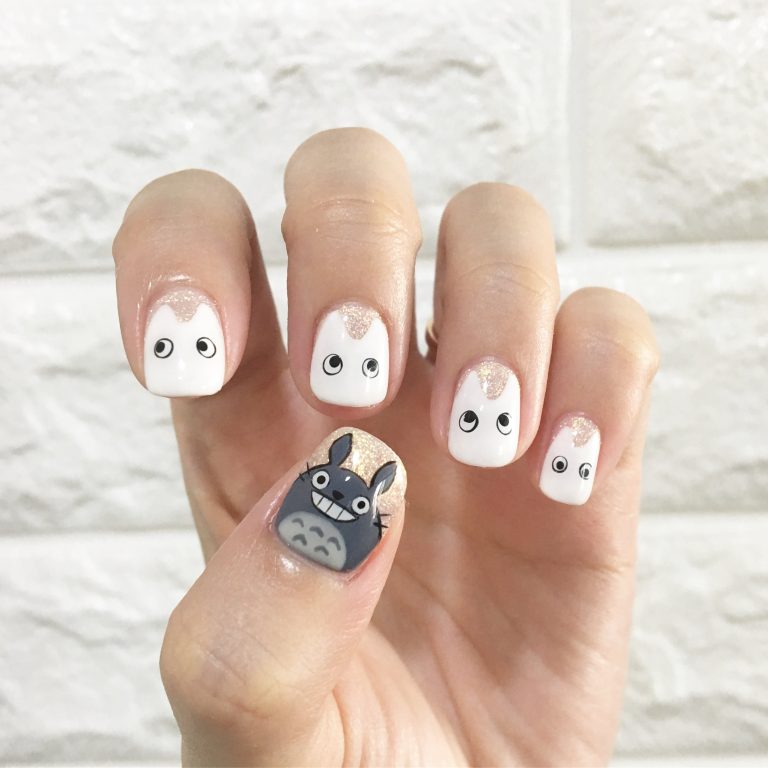
Nail Art Designs Floral and Botanical Designs: Bringing Nature to Your Nails
Nonetheless, floral and botanical patterns still qualify as a nail art standard. This process requires advanced methods and involves the keen observation of details.
Advanced Flower Petal Techniques:
• Layering Colors: Create dimension and depth amongst your petals by applying several layers of various colors. The density should progress gradually from the lightest base to the heaviest point in the middle.
• Wet-on-Wet Blending: This facilitates smooth transitions in colour during wet-on-wet blending. Lightly dab these two separate coats of polish onto your wet brush on your pallet, simultaneously. Then, gently dab the polish mixture on your nail to achieve the desired gradient effect.
• Veining Techniques: Add the realistic veins through fine brush, in a contrast color. Thin lines which are going beyond to edging should be drawn from the stem resembling veins in a flower.
Realism in Leaves and Stems:
• Texture Techniques: Texture by lifting your leaves and stems. Create artificial small bumps, making them look like the actual leaf texture, with a dotting tool that has a textured tip.
• Shadow and Highlight Play: Shade the bottom parts of your leaves and stems slightly darker than the base colour for depth. To the contrary, use a softer shade for soft accents.
• Varying Line Thickness: Also, do not shy away from experimenting with different line thicknesses for your leaves and stems. The fine tendrils could be described by fine bristles, while the strong stems could be depicted by thicker lines.
Incorporating 3D Elements: Adding Depth and Dimension to Your Nail Art
Nail art does not stop at flat designs— it is all about elevating your artwork through 3-D elements. These textured additions make your nails appear like a miniature world, which is fascinating in its realism and dimension.
Creating Dimension with Acrylic or Gel:
Sculpting is the main basis of 3D nail art. Two powerful materials reign supreme: acrylic and gel.
• Acrylic: It is flexible such that it can be modeled into different shapes and forms. Construct your preferred 3D element one layer at a time, curing in a UV lamp for permanent stickiness.
• Gel: Gel is very much similar to acrylic in that it provides one with excellent sculpting control as well as a glossy and high-quality finish. It is almost as forgiving as acrylic but good for novices.
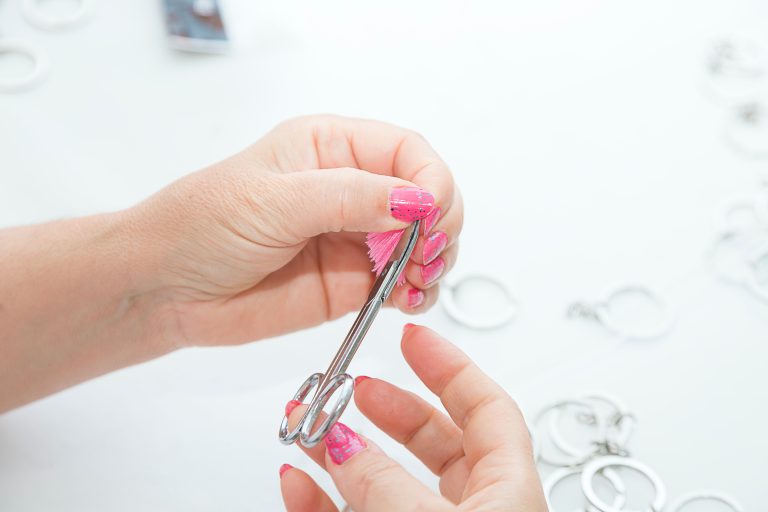
Tools and Techniques for 3D Effects:
Your toolbox for 3D nail art is a treasure trove of creative possibilities:
• Nail Art Brushes: The best brushes you use are fine ones with angled tips, for sculpting tiny details into a gel or acrylic.
• Dotting Tools: These are microscopic metal balls, which are ideal for forming small dots, bump textures, and thin flower petals.
• Tweezers: Tweezers are your best companion for the correct position of tiny decorations such as rhinestones, pearls, or dried flowers.
• Silica Beads: The small spheres give texture and depth to your designs. Just apply them on wet gel or acrylic and lightly tap them in for a realistic outcome.
Conclusion: Unleashing Your Inner Nail Art Maestro
Armed with the necessary skills and information that are needed to do advanced nail art, you can now embark on your journey of creativity. Remember, though, “perfect” does not only involve sophisticated design but also self-expression, challenge, nail game, and so on.
Even in failure, one should have the courage to try new things. In every small dot, perfection is tried to be achieved and greatness made on your fingers. Thus, get a brush, liberate from within, your inner artist, and let imagination flow unrestricted.
FAQs: Nail Art Designs
What are a few not unusual errors to keep away from whilst doing tricky nail paintings?
• Rushing: Take some time with each stroke for nice control and precision.
• Using the incorrect brush: Choose brushes particularly designed for problematic paintings, like satisfactory liners and stripers.
• Skipping the base coat: A proper base coat gives a clean surface and stops chipping.
• Over-buffing: Buffing lightly receives rid of ridges without weakening your nails.
• Giving up: Mistakes seem! Embrace them as studying possibilities and keep practicing.
What are a few tips for retaining complicated Nail Art Designs work?
• Apply a top coat: This seals your format and protects it from chipping.
• Wear gloves: When doing chores or washing dishes, put on gloves to save you scratches and dings.
• Avoid harsh chemical compounds: Avoid extended contact with acetone or harsh cleaning merchandise.
• Moisturize your cuticles: Regular moisturizing keeps your nails and cuticles healthful, preventing dryness and cracking.
• Change your nails often: As your nails develop, your design will in the end shift. Consider changing your layout every 5-7 days.
Where can I discover concept for tricky nail art work designs?
• Social media: Platforms like Instagram and Pinterest are brimming with nail art thought. Follow proficient nail artists and discover hashtags like #intricatenails and #floralnailart.
• Magazines and blogs: Beauty magazines and nail paintings blogs regularly characteristic lovely designs and tutorials.
• Nature: Take idea from the splendor of nature! Observe flora, leaves, and other natural elements for complicated patterns and shade palettes.
• Your creativeness: Don’t be afraid to get innovative! Let your particular style and character shine via your designs.
So always keep this in mind as there is nothing that is impossible in complex nail art. Alright then, grab your paintbrushes, step out of your comfort zone, and paint your nails with the tales that your heart yearns for.
I sincerely hope that this complete guide has provided you with the necessary information and motivation to embark on a challenging nail art journey! Practice on, go on creating, and continue having your nails painted with the self-made masterpieces.