In recent times gradient and ombre nail designs have swept over the beauty world with a restrained combination of colors and creative art on nails. This is done using methods that will help the hues move in another creating the authenticity on your nail through a slight drama to your nails for an alluring and eye-catching effect.
Gradient and Ombre Effects in Nail Art- Introduction
Though used in other occasions to mean the same thing as ombre, gradient possesses some stark differences. Gradient, on the other hand, denotes the smooth and continuous progression of one color into another. In contrast, Ombre offers a rather smooth fading of colors providing a softer and more romantic look.
The Versatile Appeal of Transitioning Colors
Gradient and ombre nail designs are attractive due to their ability to be customized. These are versatile enough to be suited with any style, preference and occasion. With these styles, one can be as adventurous, or as ethereal, or even as grand as he fancies.
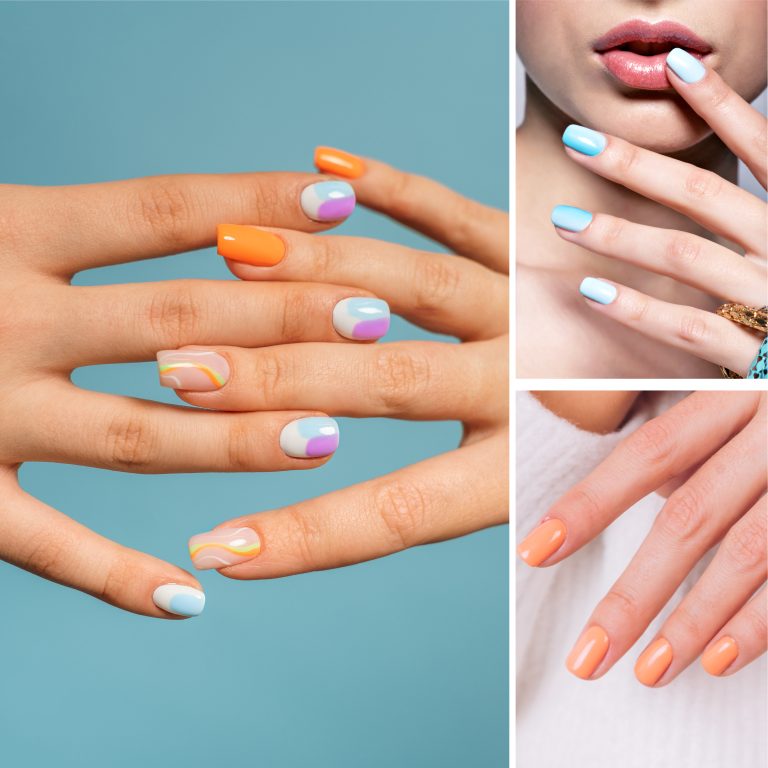
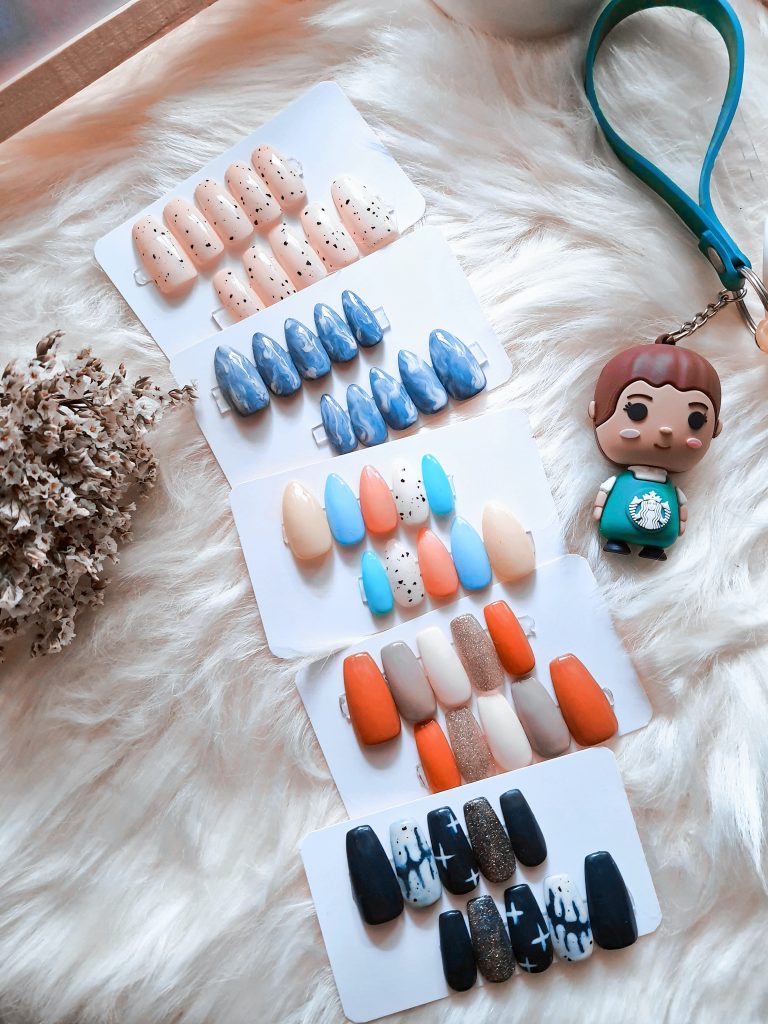
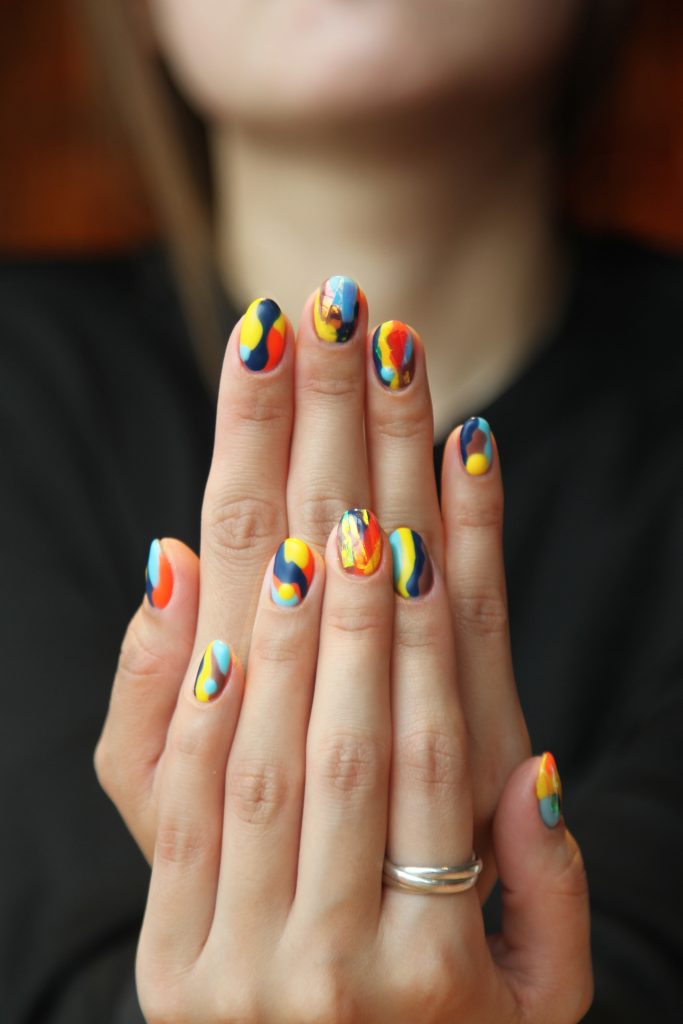
These color combinations range from pastel pinks and purples to fiery oranges and reds. Try darker hues against lighter ones for a noticeable first impression, or choose colors that enhance each other to create harmony and unity.
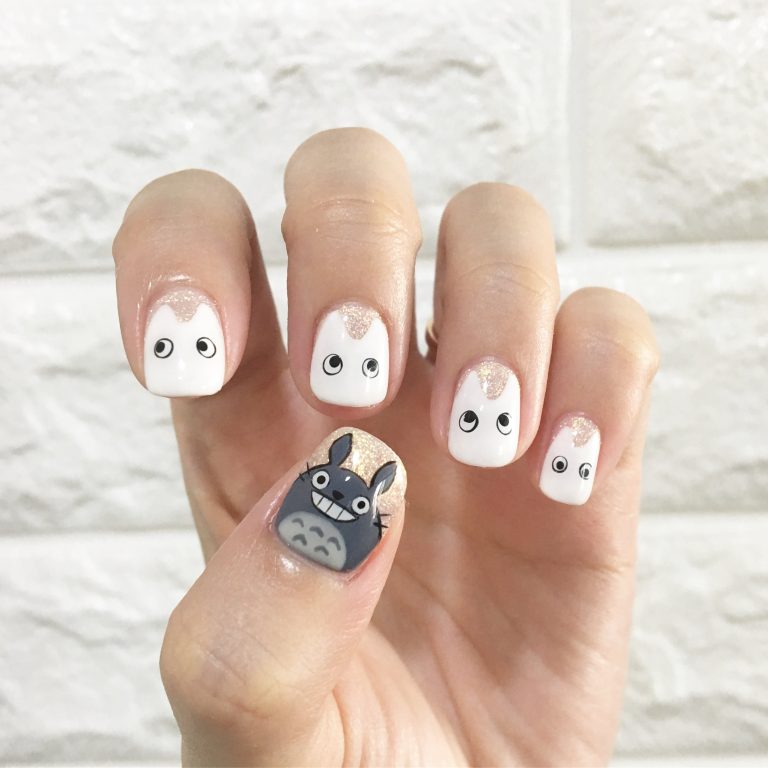
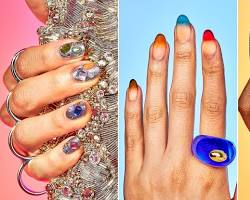
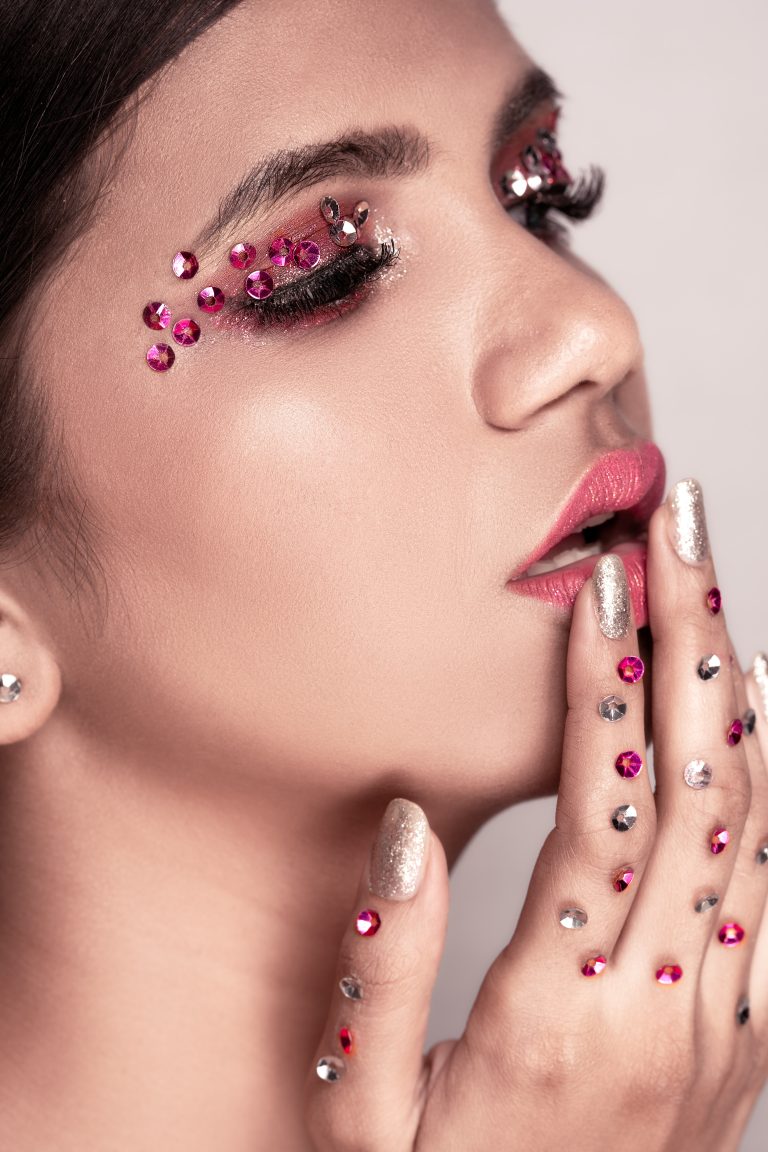
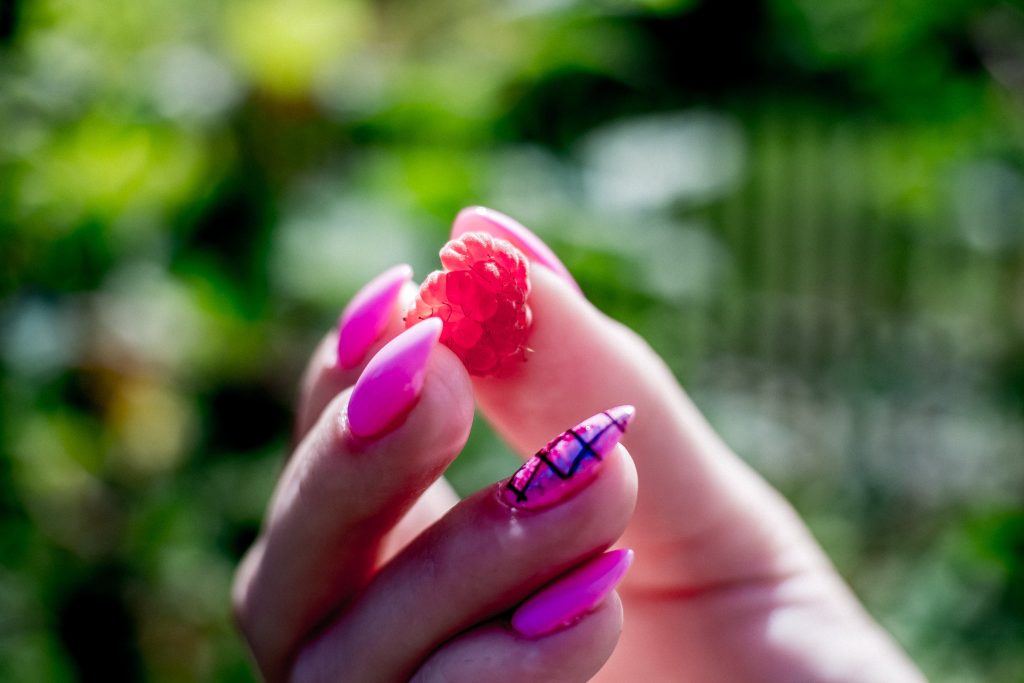
Aside from color options, gradient and ombre styles could also be accentuated with ornamental details like glitters, gemstones, and nail printing. These small details add that special touch of personality and make your nails to be truly unique.
Understanding Gradient and Ombre Techniques
Gradient and Ombre Effects in Nail Art
Gradient and ombre techniques use color blending.
Gradient Nail Art:
• Produces a continuous, gradual change of color.
• Demands for precise application and blending skills.
• Can be accomplished with the help of different tools like makeup sponges, air brushes, nail art brushes etc.
Ombre Nail Art:
• This results in a softer and more blend image.
• Boasts of more forgiving application as opposed to gradient nails.
• You can create it by using sponges, eyeshadow brushes or even cotton swabs.
The Visual Impact of Seamlessly Blending Colors–Gradient and Ombre Effects in Nail Art
Gradient, Ombre Nail Art Designs that are simply captivating, and creates a catchy visual effect that is hard to go unnoticed. Colors are blended together so seamlessly that they provide depth and dimension for your natural nails, making them look longer and slimmer.
The same techniques are also capable of inspiring various emotions and moods. The romantic and ethereal ambience can be achieved with softly blurred ombre nails, while the bold and contrasting gradients will add some special confidence and power.
Gradient and ombre nails create the visual impact that reaches far beyond personal adornment. It is in this light that we can view these designs as an avenue of personality, and artists of the same.
Essential Considerations for Gradient and Ombre Effects in Nail Art
To ensure flawless gradient and ombre nails, several factors must be considered:
• Color selection: Select complementary colours, which achieve the desired effect.
• Polish consistency: Choose thin polishes that are smoothened easily for a flowing passage.
• Application tools: Choose the tools that best match your level of proficiency and style approach.
• Blending technique: Experiment more blending methods and practice to gain the desired effect.
• Cleanliness: Apply liquid latex on your skin ! and any mistakes you happen to make will be fixed during cleaning.
The art of producing gradient and ombre effect manicure is in knowing the differences between them, finding proper materials and learning the technique to create stunning designs giving an opportunity to feel like an artist.
Essential Tools and Supplies: Building Your Gradient and Ombre Nail Art Kit
After selecting the preferred color palette and a specific method, use a kit of necessary tools and supplies for making effective gradient and ombre nails.
Selection of Compatible Nail Polish Shades:
• Go for nail polishes and let them be of high quality that will result in easy mixing.
• Choose polishes of the same make or compatible formulas, not to mention variance and curdling.
• You can select from two to three colors of the same scale or different shades depending on what effect you want to achieve.
• To make this gradient darker, you can add a black polish or alternatively a white polish to make it lighter.
Tools for Achieving Smooth Color Transitions:
• Makeup sponges: The all-time favorite go-to tool perfect for blending two colors softly and creating a smooth gradient. For enhanced control and accuracy, cut the sponge into smaller wedges.
• Airbrush: A perfect gradient looks professional with an advance tool. Hard to learn and master.
• Nail art brushes: These involve manipulation of polishes using flat or fan brushes and creation of accurate information.
• Eyeshadow brushes: They are also softer than nail art brushes and they work wonderfully for creating an elegant ombre effect.
• Cotton swabs: How ombre the easy way.
• Toothpicks: It is very handy for small dots or fine details in the design.
• Dotting tools: Comes in miscellaneous sizes for drawing perfect circles and other conical shapes.
• Nail stamping tools: Patterns and further enhancing gradient or ombre nails.
Additional Supplies:
• Liquid latex: Safeguards against undesired polish marks on your skin during application and removal.
• Base coat: It serves as a perfect base coat and creates a polished surface that allows the polish to adhere better without leaving stains.
• Topcoat: to protect your nail art design and add shine.
• Nail polish remover: First of all, you need to clean your mess and get rid of the nail art.
• Q-tips: They are great to cut through the fluff and tidy up a piece of dirt.
• Paper towels: Absorb cotton that is used to wipe brushes and sponges is habitual for them as the cotton takes extra polish quite well.
• Nail art tape: Draw straight lines and other shapes.
• Rhinestones, glitter, and other embellishments: The following are additional glam and character material for your design.
Remember: Try a few other tools and techniques until you see the fit and style that suits you best.
Preparing Your Nails: Creating a Suitable Canvas for Color Transitions–Gradient and Ombre Effects in Nail Art
The foundation of this fabulous look that will stay unfinished for two weeks should be laid before stumbling upon gradients and ombre nails as a mode of expression.
Nail Shaping and Cuticle Care-Gradient and Ombre Effects in Nail Art
• Employ nail file to achieve necessary size and shape.
• Cuticles can be gently pushed back through a cuticle pusher or even a cuticle nipper.
• Use cuticle oil to feed and moisturize your cuticles.
Creating a Smooth Surface-Gradient and Ombre Effects in Nail Art
• Buff buff your nails gently to take ridges out and make the surface smooth.
• Create a protective base coat to preserve your nails and assist in applying the polish with precision.
• Make sure the base coat is dry before anyone does anything.
Extra Tips:
• Apply sticky base that will make your polish to stick well and not to be pulped off.
• Also before gradient or ombre design you can first of all put a layer of white nail polish on your nails; this will make the colors much deeper and lighter.
• If you have it on your cuticles, use a Q-tip doused in nail polish remover to clean it up.
Keep in mind these important prep steps to give your gradient and ombre nails a clean, contoured canvas for perfect, lasting work.

Basic Gradient Techniques–Gradient and Ombre Effects in Nail Art
With your tools in place and nails prepped, you can now dive into the fun world of gradient nail art! We will start with some basic techniques that will help to heighten your creative journey.
Single-Color Gradient
It is a nice way to start gradient nails, providing mellow and refined outcome. Suitable for novices or minimalists.
Step-by-step guide:
1. First apply a base coat and allow it to dry.
2. Select nail polish and stripe a thicker line near the nail’s tip.
3. Apply some nail polish remover to a makeup sponge.
4. Lightly, press the sponge on polish line and bending it, down towards your nail bed.
5. Continue to perform steps 3 and 4 until you attain your preferred color intensity level.
6. Cover the design with a thin coat of topcoat.
Tips for a subtle and elegant transition:
• For a softer look, a light-coloured polish should be used as your base.
• Instead of wiping, blend the color with some gentles dabbing.
• Inclusion of glitter for some sparkling touch and aspects.
Conclusion-Gradient and Ombre Effects in Nail Art
The most interesting way to express your own personality is the gradient and ombre nail art techniques on your fingers. With the basic principles, choice of correct tools and mastering technique you will be able to create spectacular design ideas that other people will enjoy.
That is the beauty of these techniques – they are versatile and adaptable. Whether you want your nails to look bold, vibrant, soft and delicate or sophisticated and elegant. Gradient and ombre nails can meet your needs.
By practicing a little imagination and creativity, these thrilling nail art avenues are easily definable that makes one become an artist. Therefore, stock your tools, study your colour shades and take yourselves on the journey of artistic expressionism into this enchanting world of gradient and ombre nail art.
FAQs-Gradient and Ombre Effects in Nail Art
Q: Why should I use a base coat before gradient or ombre nails?
A: There are several fold benefits that go with the application of a base coat.
• Protects your nails: Forms a shield between polish and your real nails warding off staining and harm.
• Provides a smooth surface: Helps to even out any imperfections in you nails, providing better polish adhesion and an important perfect surface.
• Enhances color vibrancy: Leaves you with a white canvas for your nail art, which makes the colors look better and closer to original color.
Q: What should I do to chip proof my gradient or ombre nails?
A: To this end, the following include some tips that will help you stop chipping and get more life from your nail art:
• Use high-quality nail polishes: Choose polishes that are especially made for nail art with a formula that lasts.
• Apply thin layers: Do not apply heavy coats of the polish because it will start getting chipped off.
• Seal your design with a topcoat: Select a top coat that has chips protection formula and apply over the nail polish.
• Avoid harsh chemicals: Wear gloves when cleaning to prevent your nails from coming into contact with harsh chemicals.
• Touch up your nails regularly: Then, do a topcoat every other two or three days to keep your design looking fresh without chipping.
Q: Are traditional makeup applicators good for gradient and ombre nails?
A: Although regular makeup sponges may be used when in a hurry, they are not the perfect tools for nail art. They are usually too thick and take in a lot of polish, creating difficulties when trying to achive the smooth gradient.