Introduction
The Artistry of nail design-Nail Art Glamour
However, in the recent times, the nail art has exceeded manicure to become an art itself. These days, it is a trend. People of all ages across borders use it. This surge in interest can be attributed to several factors:
Accessibility of Tools and Resources: The low cost of nail art is the other factor contributing to its popularity. Each individual has an opportunity to express himself/herself creatively through this inexpensive activity which a person can easily acquire online tutorials.
Social Media Influence: Social network sites such as Instagram has seen many emerging trends of different nail arts and fashions giving birth to the cult of nails addictive.
Fashion Integration: Nail art has become a fashion and many designers consider it as an accessory, thus, making it trendy.
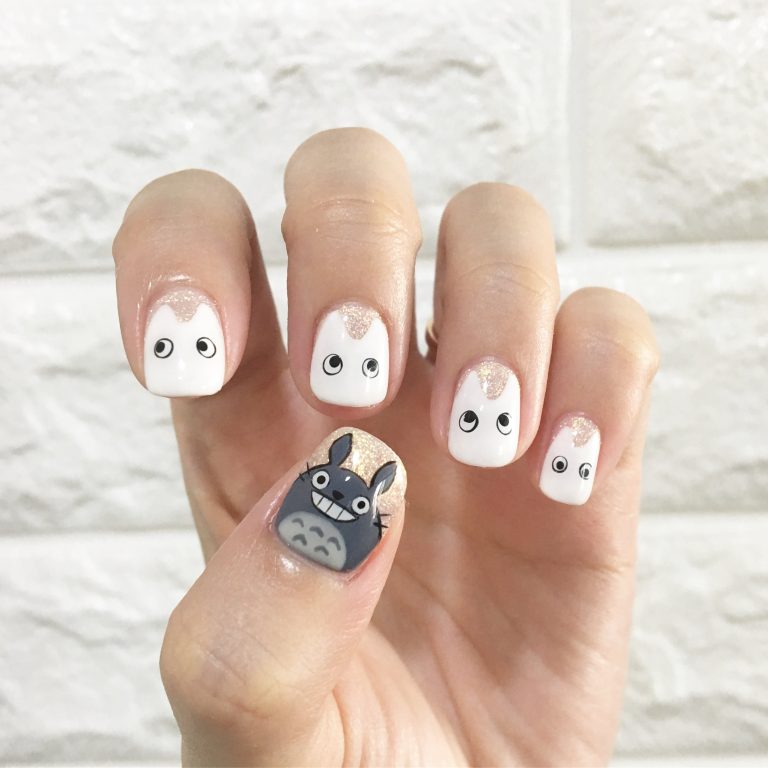
Self-Expression and Creativity: Nail art has become one of the modern ways of expressing oneself. From intricate floral patterns to bold geometrical forms, people can add their own touch of charm, imagination in small size to it.
Confidence Boost: Manicure techniques should not be taken lightly in a way they build up women’s confidence and self esteem.
Anticipating a Step-by-Step Guide to Mastering Nail Art Techniques:
When it comes to nail trends in vogue today, one would like to know what to do. It will discuss the equipments used in the design of nails, the theories behind nail art and how the most beautiful designs can be created.
Gathering Your Tools-Nail Art Glamour
Essential Nail Art Supplies-Nail Art Glamour
Nevertheless, one must secure the required products and gear. Here’s a breakdown of essential supplies:
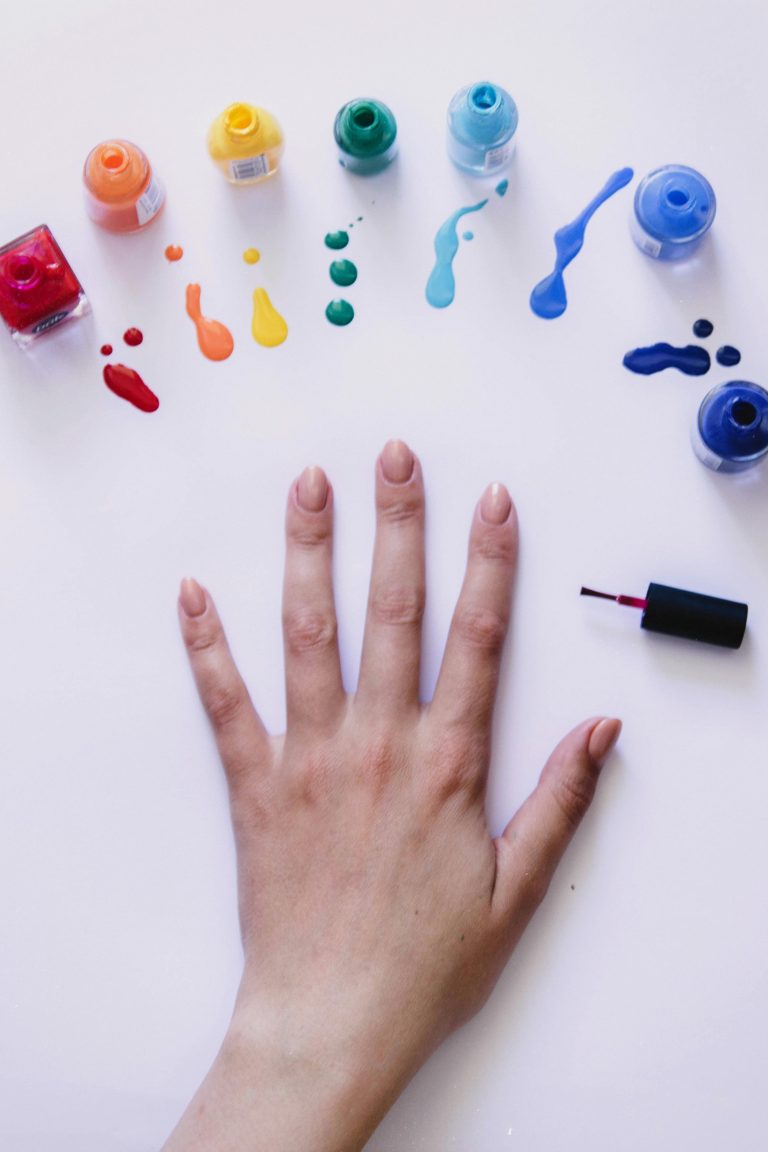
Nail polish and color palette:
• Base coat: Your nails get well-surfaced and hence smooth, thereby being prepared for the paint and not staining.
• Topcoat: Enhance its durability and also add another layer of shield to the design.
• Nail polishes: Choose attractive color tones for your mix of color. The method involves using a quick polish called quick polish type of hard and fast polish.
Nail art brushes and tools:
• Nail art brushes: Detail-brush, angle brushes basecoat flat brush for strokes and lines.
• Dotting tools: Several ways designed to make perfect dots and circles.
• Stamping tools: Encrusted plates in luxurious designs.
• Rhinestones and embellishments: Instead, you should experiment with other types of accents in your designs.
Base and topcoat essentials:
• Nail polish remover: Come up with a formula without acetone for removing nail polish without damaging the skin.
• Nail clippers and file: Maintain recommended nail length, and shape. convert written to ai written
• Cuticle pusher and nippers: Make sure you apply a soft force on the skin surrounding your cuticles to eliminate dead skin cell for hygiene reasons, leading to perfectly neat skin.
• Nail buffer: It ends up in sanding out the ridges that may be on the surface. Therefore, it leaves one with an excellent finish.
These are basics for the nail-art technique success. Please note that you do not need to spend all your big cash on every project together. Start with simple kits, learn more and keep advancing.
Prepping Your Canvas-Nail Art Glamour
Nail Care and Preparation-Nail Art Glamour
Good preparation before creativity is key in making a strong and long lasting manicure. Here are the essential steps:
Trimming and shaping your nails:
• Use sharpened toenail clippers and trim your nails to desired length.
• Ensure that you have straight but round edge so that you can find them suitable for the style you prefer. Filing is good, but do not file a lot because it makes the nails vulnerable.
2. Cuticle care and moisturizing:
• Soak your hands in warm water to soften the cuticles.
• Push back the cuticles using a cuticle pusher.
• Cuticle nippers should be used to trim the extra skin without the cuts going deep into it.
• Cuticle oil should be applied to ensure the nail cuticles are well nourished, hydrated and promote healthy nail growth.
Going through with these preparatory steps helps ensure that the nail art is seamless, as well as healthiest foundation for your nail art masterpiece. Therefore, you should care for your nails because strong and well-grown nails make healthy bases for various nail decorations.
Basic Nail Art Techniques-Nail Art Glamour
You now have all your tools at your disposal, nails are ready, and you should know a few simple nail art techniques. This is because through the basic skills there is an endless flow of thoughts which translates into professional work.
Solid Color Application:
A good solid colour application would be the foundation for an excellent nail artwork. Here’s how to achieve a smooth and even finish:
Achieving a smooth and even base coat:
• Lightly coat all your nails with the base coat up towards the end.
• Once the base coat is dry enough, add the color.
• Use very thin and even layers at a time.
• Avoid over polishing as this causes streaks and bubbles.
• Apply a second coat for full coverage and better color pay offs.
Tips for preventing streaks and bubbles:
• Always ensure that the polish is not running or too thick. If this is so, all you require is nail-polish thinner and pour it into the mixture.
• Remember to warm up a nail polish bottle. Before each application, roll it between your hands. Mix the pigment evenly through this phase.
• Make sure that you apply the polish using even, long strokes.
• In addition, an individual should never go beyond the sm spot since this can lead to smear sms.
• A polish dotting tool will be used to remove air bubbles on the surface.
• Use a dab of the remover minus acetone on a brush and clean up any mess around the edges.
French Tips:
There are numerous sophisticated nail designs people can do at home, including the French tip. Here’s a step-by-step guide to perfecting your French manicure:
1. Step-by-step guide to perfecting French manicure tips:
• Nail preparations are another critical element in these products.
• Apply a very shallow layer of base coat on the nails.
• Following the application of the base coat, apply a nail polish guide or a thin white line at the free end of of each fingernail and go further out for stretching fingers look.
• The last section of the nail should be painted with light pink/nude.
• Lastly, apply a finishing product atop and seal in the decorative patterns for an attractive high gloss.
Creative variations on the classic French tip:
• Go for metallic or glitter polish for the tip instead of white.
• Use V-shape and diagonal lines for the tip.
• More embellishment can also be done by adding rhinestones or pearl touches on the tip or along the design.
• To create French tip, the white line has to be painted along the basis of the nail and this will result in making half- moon.
Learning the basic skills needed for you to master this endless world of nail art is important. Remember, practice makes perfect! With practice, you will be able to create more stunning nail arts.

Advanced Techniques-Nail Art Glamour
Feeling ready to make your nail art even better? Explore complex methods that allow your designs to have depth, feel, and multiple layers.
3D Nail Art:
The use of 3D nail art involves acrylics and gel which are used to produce striking designs that are elevated from the nail. This approach opens up a myriad of possibilities, enabling you to model various detailed aspects such as flowers, beads, animals, and others on your hands.
Working with acrylics and gels for dimension:
• A malleable mixture of acrylic powders and liquid monomers that harden fast enable one to sculpt and mold objects.
• These gels can be of various consistancies – thick sculpting gels or thin gels for fine details. These need curing using a UV or LED lamp to harden.
Sculpting intricate designs on your nails:
• Begin with your base design, applying sculpting gel or acrylic paint.
• Shape it into a pattern that will appear desirable by using dotting tools, brushes or sculptures.
• This technique entails practice and patience to attain perfection.
• After you have achieved the desired shape, cure the gel or acrylic using a UV or LED lamp.
• Apply the top coat to obtain a professional finish.
Conclusion-Nail Art Glamour
Nail art journey may prove to be very rewarding and enlightening. You can use the right tools, techniques and some imagination to transform your nails into mini canvases that express your individuality and style. I hope this guide has given you the foundation in the necessary nail care, basic techniques and varied designs. Remember, the possibilities are endless! Therefore, let loose your imagination, enjoy the spirit of trial and error, and enjoy the constantly changing nail art scene.
FAQs
Q. What are some recommendations for beginners?
• Start with easy designs and steadily progress to greater complicated techniques as you advantage confidence.
• Invest in great gear and substances, as they will make utility less difficult and the outcomes extra expert.
• Practice frequently to refine your technique and explore special styles.
• Don’t be afraid to experiment and feature fun!
Q. How can I make bigger the wear and tear of my nail art?
• Apply a thin layer of base coat before each utility of color.
• Use a quick-drying topcoat to seal in the design and save you chipping.
• Avoid harsh chemicals and activities that can harm your nails.
• Apply cuticle oil regularly to preserve your nails healthful and strong.
Q. Where can I locate notion for nail art designs?
• Social media structures like Instagram and Pinterest are treasure troves of nail art concept.
• Online nail artwork tutorials and blogs offer treasured hints and step-through-step publications.
• Magazines and fashion shows frequently showcase the latest developments in nail artwork.
• Don’t be constrained! Look around you for concept and permit your creativity go with the flow.
Q. What are some common nail artwork mistakes?
• Applying polish over a wet base coat.
• Using thick and gloopy polish.
• Applying an excessive amount of polish immediately.
• Going to and fro over the equal area with the brush.
• Not using a topcoat.
• Not cleaning up mistakes round the edges.
Q. How can I take away nail art accurately?
• Use an acetone-loose nail polish remover to avoid destructive your nails.
• Soak cotton balls in the remover and press them onto your nails for a couple of minutes.
• Gently wipe away the polish.
• Apply cuticle oil to moisturize your nails after removal.