Introduction
A simple yet effective item is stripping tape that will help you to create sleek lines, geometric patterns and intricate details on your nails. It is a just thin, sticky tape that can open the world for the most novice or the most professional person in nail art. Striping tape will transform boring nail art to magnificent for both beginners and experts alike.
The Glamorous World of Striping Tape Nail Art
The reason for this is what has caused striping tape nail art to flood the beauty world. It offers a multitude of advantages:
• Simple and easy to use: Stripping tape does not require specialists skills, and even beginners can use it successfully.
• Versatility: From traditional strips to decorative geometric patterns, there are numerous choices available which you can combine in any way to correspond with your style and the desired image to be created.
• Precision and control: This tape is excellent for applying thin lines with accuracy so as to achieve professional fingernails.
• Time-saving: To reduce the time necessary for some of these intricate nail designs, using striping tape can be of great help.
• Affordability: Another advantage of striping tape is that it is cheaper relative to other nail art procedures.
Glamorized results. For instance, there is striping tape that will leave salon look in your house without spending much.
Elevating Nail Designs with Precision and Style-Striping Tape Nail Art
Striping tapes are used to create stripes. If applied alone, it results in a minimalistic design that is simply stunning. It becomes sophisticated and elegant when used in combination with other nail art techniques. Here are just a few ways to elevate your nail designs with striping tape:
• Geometric patterns: Use triangle, square, and diamond shapes for a contemporary and sharp effect.
• Negative space designs: Striping tape is also applied to nail painting to prevent painting some part in order to achieve an excellent effect.
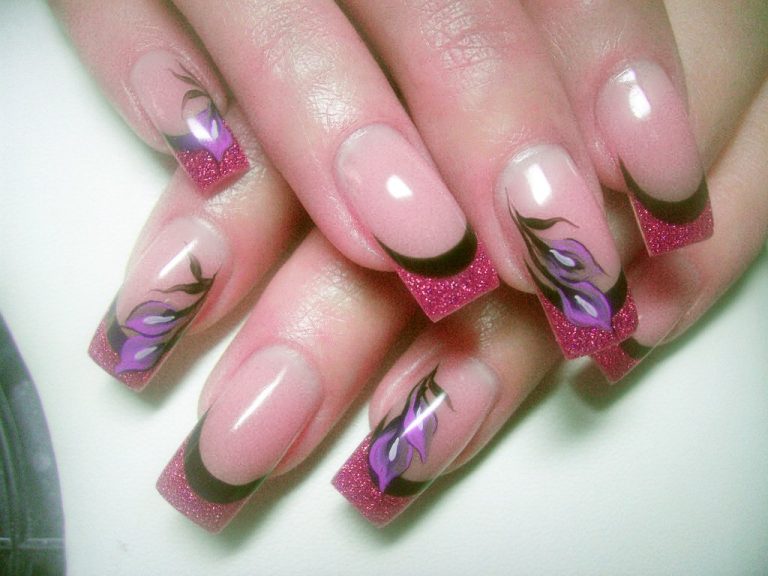
• French manicures: Updating French manicure with striped tape helps in creating fine line and details.
• Ombre nails: Apply gradient effect to a stripe that has been painted using alternating striping tape.
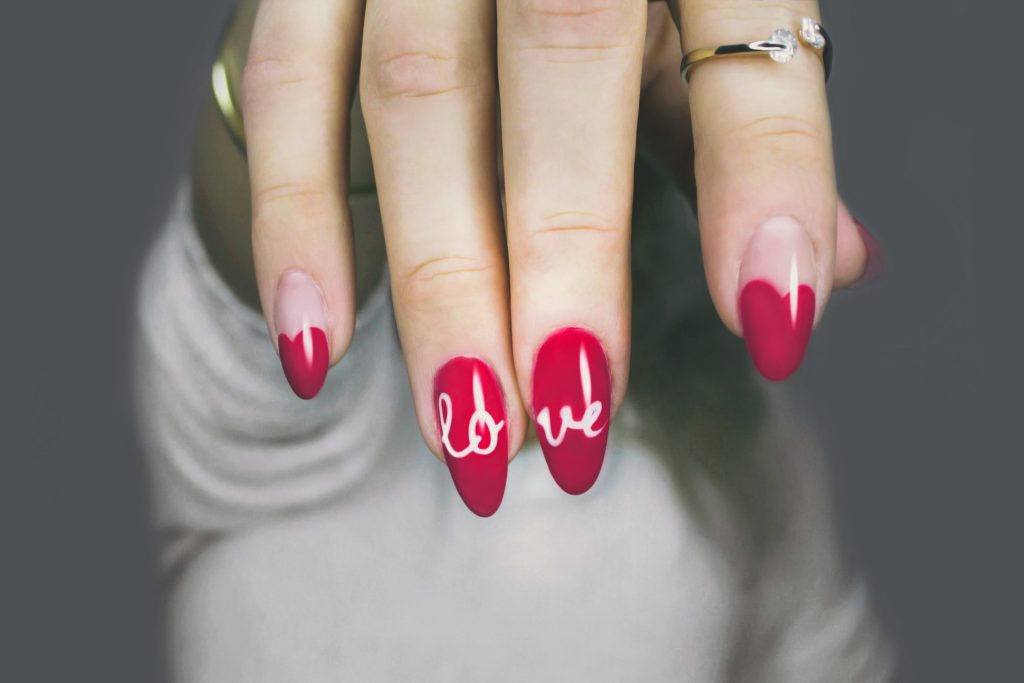
• Nail art embellishments: A striping tape can be utilized to create borders on any nail art embellishments such as diamonds, beads and glitters.
If one has a bit of imagination and creativity, anything under the sun. It might appear as an art and you will have a cool and confident look.
The Basics of Striping Tape Nail Art
Before we dive into the world of stunning nail designs, let’s delve into the fundamentals of striping tape:
Composition of Striping Tape Nail Art
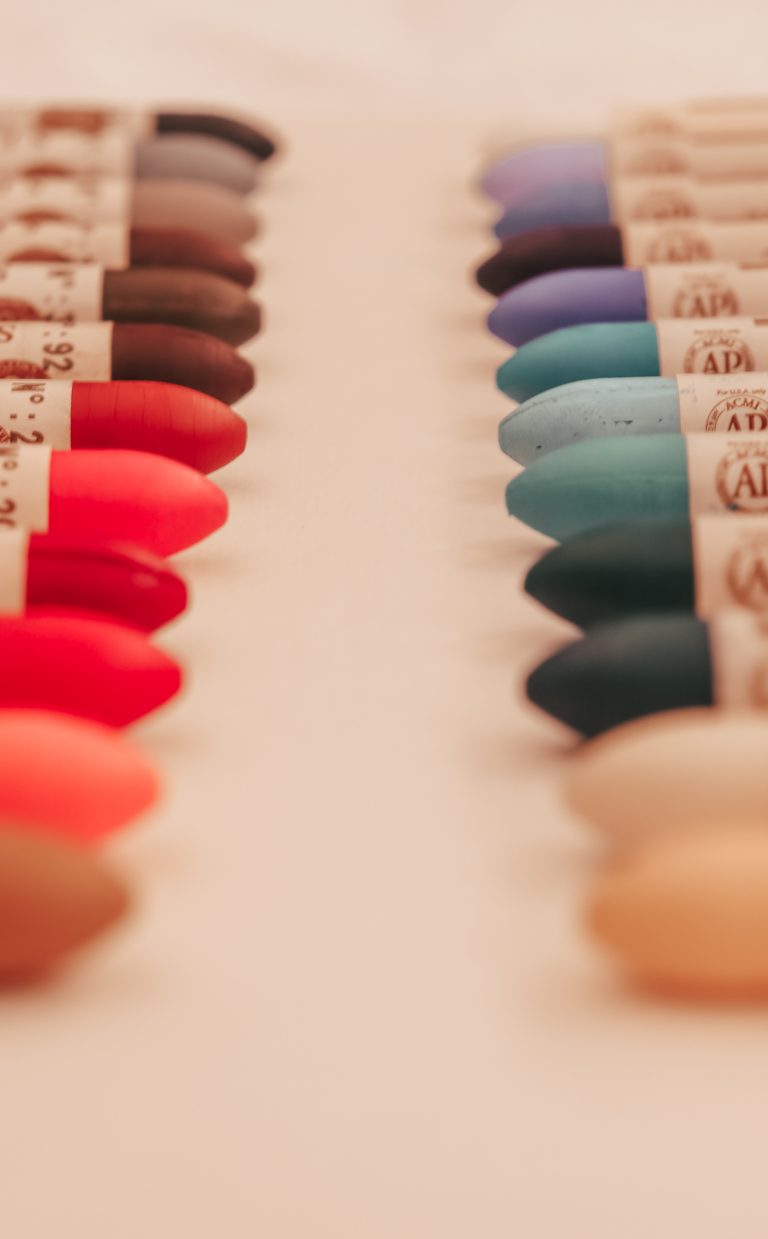
Striping tape is usually thin and adhesive vinyl material. By using varied widths, you can attain many kinds of nail art styles. The most common types include:
• Classic striping tape: Therefore, more commonly encountered is the use of a matte finished one. Hence, provides with an illusion of straightness, or a sense of design geometry.
• Metallic striping tape: This is one of the most glossy kinds. There are many metallic colors it comes with such as gold, silver and rose gold.
• Glitter striping tape: The tape has a glittery touch which adds to the festivity of your nails. The glitter comes in different styles, shades, and sizes.
• Holographic striping tape: Interestingly, the light dependent rainbow effect. It can be considered as a special add-on to any nail design.
The width and finish vary for different designs-Striping Tape Nail Art
Hence, striping tape should be wide enough for perfect manicure since it’s crucial. Here are some popular widths and their ideal uses:
• 1mm: Suitable for making thin lines, simple designs, fine detail lines.
• 2mm: One of the best examples of such width is flexibility to be used in many design styles starting from stripes to geometrical patterns.
• 3mm: The wider ribbon is suited for dramatic line drawing, large block of colour, and negative-space designs.
• 5mm: This is a wide tape that covers larger portions of nails or even serves to make thick borders.
Each finish also offers unique possibilities:
• Matte: This finish is perfect for creating simple, modern styles.
• Metallic: Adds a touch of class and glamour to your nails.
• Glitter: Gives your nails an art look.
• Holographic: Provides a beautiful and bewitching appearance for everyone.
However, once you find out the various kinds of stripping tape along with their characteristics, the stripping tape with your preferred flair should be easy to identify, giving you license to have fun and be as creative as you wish.
Therefore, we are now entering into our next section whereby we shall discuss important equipment necessary in generating outstanding striping tape nail style.
Essential Tools for Striping Tape Nail Art
As with any artist needs the appropriate gadgets to materialize their imagination, attractive striping tape nail art demands certain equipment.
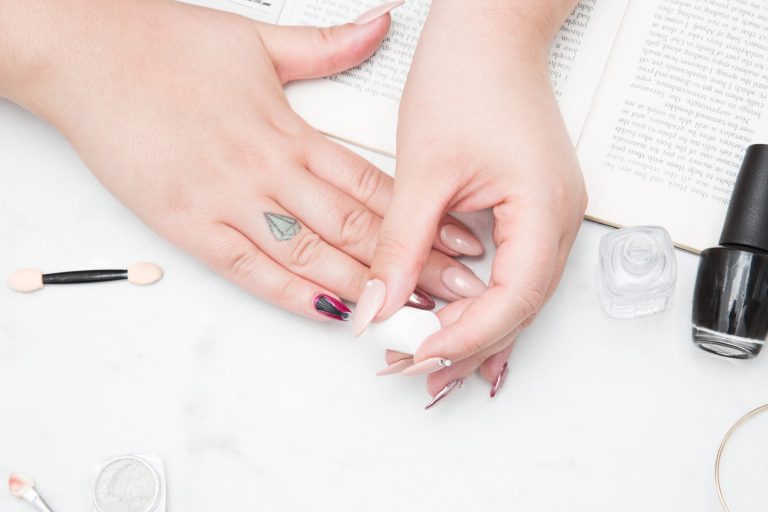
Nail Prep: The Canvas for Stunning Designs-Striping Tape Nail Art
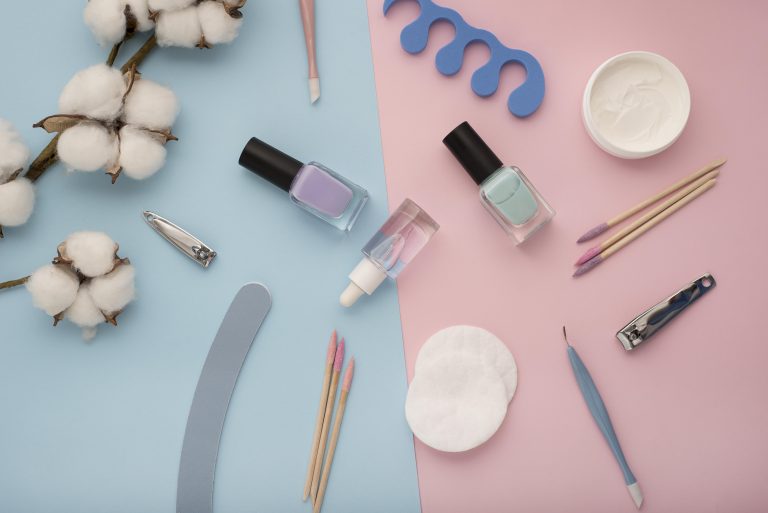
It is important to ensure that your nails are prepared before even getting close to the stripping tape. Here’s what you’ll need:
• Nail clippers and file: You’ll need to cut and shape your nails to any length and style as you desire.
• Nail buffer: Your nail surface should be free from any ridges/imperfections.
• Nail cleanser: To ensure that the striping tape sticks adequately, any oils or debris that can obstruct this must be removed.
• Base coat: Aids in protecting your nails with an even surface for the double-sided striping tape.
• Topcoat: Ensures secure packing of the design, keeping away chips and scratches.
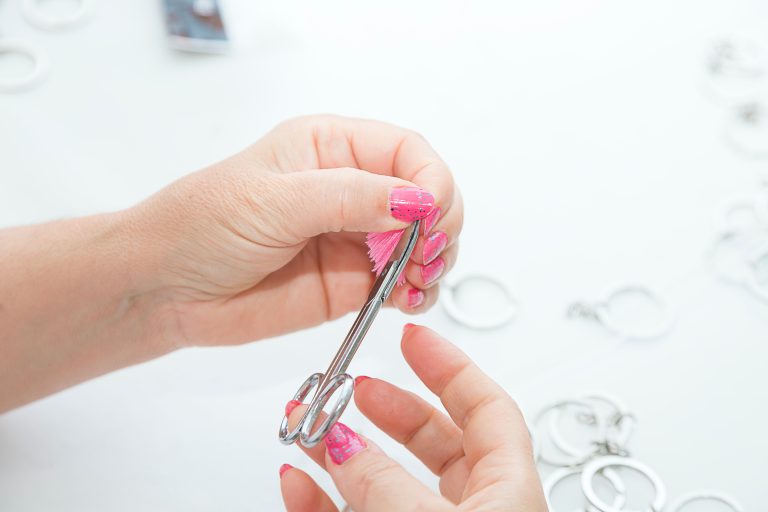
Application Precision Scissors and Tweezers.
Once your nails are prepped and painted, you’ll need:
• Precision scissors: To measure to size lengths/shapes for the striping tape.
• Tweezers: The stripping tape is very sensitive, so to make sure it sticks correctly on your nails.
These simple tools are so vital when it comes to clean lines, complex details, and perfect finishes.
Now you have information on striping tape and the necessary equipment, let’s begin to discover the application techniques and different nail arts.
The Magic of Straight Lines: Basic Tape Techniques
Striping tape gets its strength from it’s ability to form clean straight lines across surfaces. These are just some of the basic techniques that you need to master before moving on to more complex designs.
Clean horizontal and vertical stripes-Striping Tape Nail Art
For classic horizontal or vertical stripes, follow these steps:
1. Ensure that you have applied the base coat and allowed it to dry completely.
2. Cut thin stripes of striping tape. Its width corresponds to your preferred line thickness.
3. Place the tape carefully on your nail. Use tweezers for precise placement.
4. Make sure that the tape sticks properly by pressing it firmly.
5. Paint your nails with the color of nail Polish that you desire. Do not flood the tape and it runs under the lines that are clean.
6. After drying up the top coat of nail polish, gently remove the striping tape.
7. For a lasting finish apply the topcoat.
Dynamic Nail Patterns Using Diagonal Lines
Diagonal lines are trendy and attractive on nails to give your nails some movement. Here’s how to achieve them:
1. Proceed as steps 1-3 are discussed in the above section.
2. Then, place the stripe tape diagonally over your nail. The angle and length of the line can be modified to produce other varieties.
3. Proceed to step 4-7 as discussed in the previous section.
You will be able to make different types of straight-line designs with these basic techniques. Be experimental with the colours, widths of the tape and the various combinations in order to establish your unique style.
Creating Geometric Patterns with Striping Tape
These are because of their clean and modern feel that many nail art lovers prefer. Various stripes can be achieved with ease by use of stripping tape.
Triangles, Squares, and Diamonds: Step-by-Step Guide
Refer to section IV.A for the three steps.
For triangles: Stick together two pieces of tape to create a base of a triangle. Finally, cut another at a slant on top of it all to form the shape.
For squares: Cut four equal strips of tape and arrange them into a square.
For diamonds: Make a second and parallel cut across the first tape. They also include another process called repeat this to form diamond shape.
Follow step 4-7 of IV.A.
Intricate geometric design layering tapes.
In addition, one can create a very beautiful and amazing geometry design by layering different widths and colors of striping tape. Here are some tips:
• Start by using a base color and apply the stripes in the first layer.
• Ensure that you allow the base layer to fully dry out before adding other layers of tape.
• Use different widths and colours to give the object depth and volume.
• Use tweezers to pick up unwanted pieces of tape.
With practice and creativity, stripping tape can be used to create impressive geometric nail art. As you choose, you can experiment with different shapes, patterns and colours combinations.
However, in the next session, we will discuss more complex techniques on multi-colours for you and negative spaces using striping tape.
Conclusion
Striping is easy, and nail art using stripping tape is a fun way of making nail patterns and letting your creativity run wild. Its versatility, easiness and affordability has made this technique a favorite for nail artists across all skill levels.
The use of simple lines and geometric patterns to negative space designs is endless. Striping tape can aid in the creation of nail art like that done by experts at a salon even if you are just a novice or an experienced pro.
Thus, pull out your striping tape, be imaginative, let your nails be your painting board!
FAQs
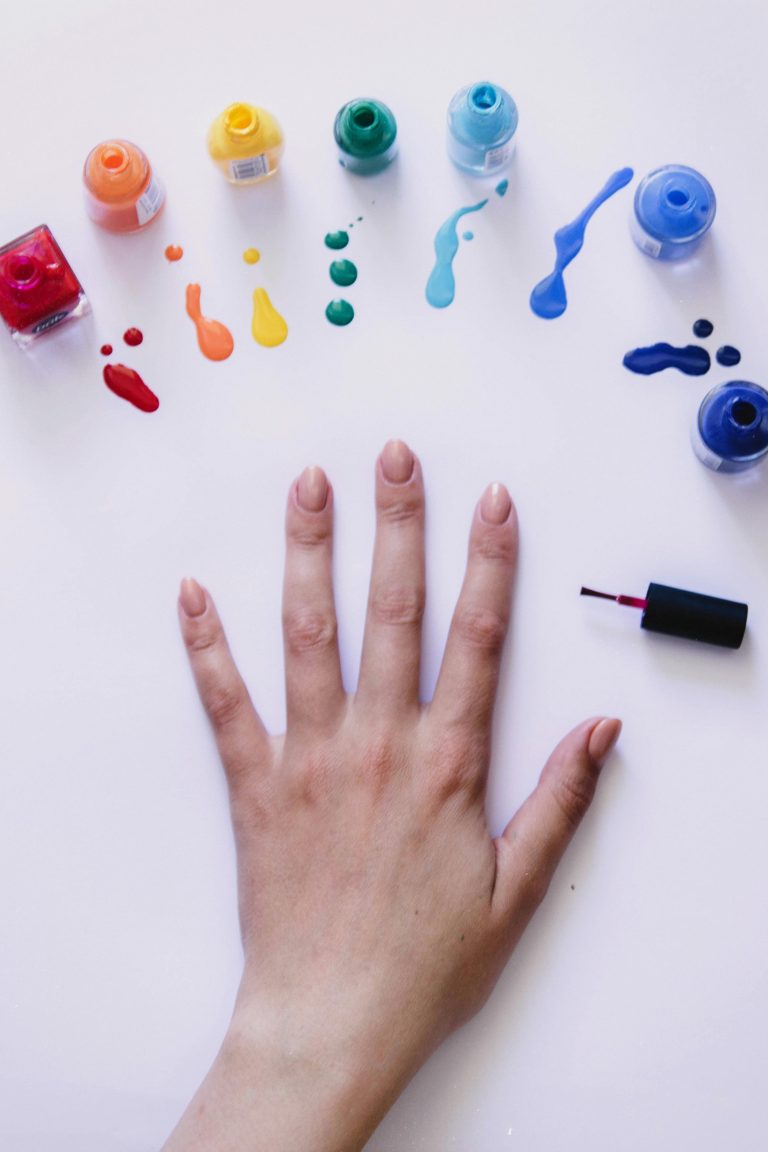
What kind of nail polish works high-quality with striping tape?
Most styles of nail polish paintings well with striping tape. However, for first-class results, it’s encouraged to apply a short-drying components. This will help prevent the polish from smudging or smearing below the tape.
How lengthy will striping tape closing on my nails?
The durability of your striping tape layout relies upon on numerous factors, along with the nice of the tape, your utility approach, and how properly you take care of your nails. Generally, you can anticipate your layout to final for 3-five days.
How do I take away striping tape without destructive my nails?
To remove striping tape gently, use tweezers to boost the brink of the tape and slowly peel it faraway from your nail. You also can use an orangewood stick with assist do away with any stubborn pieces of tape.
Can I use striping tape on my herbal nails or artificial nails?
Striping tape may be used on both herbal and synthetic nails. However, it’s essential to be aware that the application process might also differ slightly depending at the type of nails you’ve got.