With DIY nail art, one is also able to unleash their creativity. Nonetheless, like any other imaginative exercise, there are typical deviations along the way to perfect nail art. Fear not, fellow nail enthusiasts! This guide will enable you to bypass these pitfalls and surely guarantee you a sure path to success rather than fiasco.
Excitement and challenges associated with at home nail art
Many women are drawn to DIY nail art as it gives an outlet for expression. It is an exploratory place, where you are free to customize and express yourself without restricting walls of a barber shop. Nothing can be compared to the joy of painting your raw fingernails into small masterpieces that prove that you’re an artist. However, the thrilling sojourn is not without hurdles. It is not a simple thing to learn how to use small tools, learn the different methods, and be patient enough not to make mistakes. But fret not! Thus, these hurdles serve as a ladder for perfectionism in nail art application.
Common Mistakes That Will Ruin Your Nails-Common Mistakes to Dodge in DIY Nail Art
Before we delve into the nitty-gritty of specific blunders, let’s paint a broader picture of the common mistakes that can plague your DIY nail art endeavors:
• Skipping essential prep steps: In all art forms, no matter what kind, one requires a brand new, blank canvas. Failure to include nail cleaning and base coat may lead to chipping and uneven color application.
• Improper nail shaping: It is essential that nail edges are even or smooth at all times, so even though a design may be very complicated, it has to appear neat. The ability to shape well is crucial for attaining a presentable and decent appearance.
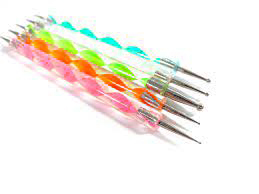
• Tool mishaps: Smaller types of equipment like tiny brushes, dotting tools and stamps are hard to manage for newbie users. Shaky hands or faulty tool control can cause shaky lines, uneven dots, and smudged design.
• Design overreach: Overcomplicating the design can be frustrating and disappointing when you can’t execute it as well as you’d like. Always begin with simple methods and increase your skills to prevent nail art meltdown.
• Lack of patience: Hurrying the drying, or sloppily smearing on dried lacquer will render all your efforts worthless. As a rule of thumb, patience is a nail artist’s virtue.
Now, let’s zoom in and tackle these pitfalls head-on, starting with the foundation of any successful nail art creation: flawless nail canvas preparation.
Flawed Nail Canvas Preparation–Common Mistakes to Dodge in DIY Nail Art
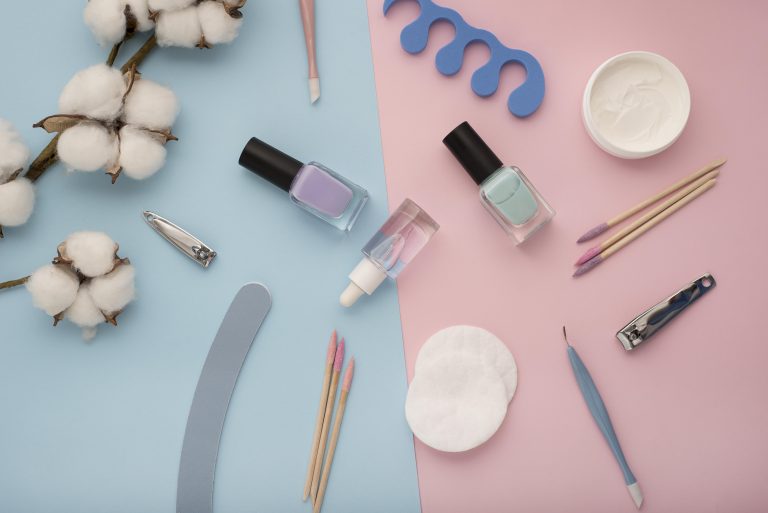
The unsung hero of any beautiful nail art design should be a smooth, clean, and well-shaped nail bed. These prep steps are so vital that you should never skimp on them, otherwise you will disappoint yourself. Let’s break down the common missteps in canvas preparation and pave the way for flawless foundations:
Skipping Essential Nail Cleaning Steps–Common Mistakes to Dodge in DIY Nail Art
Oil Slicks: Oils that are normally produced by our nails hinder the sticking of polish. Begin with cleaning oils and debris with a lint-free wipe soaked in rubbing alcohol or acetone so as not to stain with color.
Sticky Leftovers: Use acetone remover to clean off any left-overs of previous polish. The nail plate should be totally clean and dry before continuing.
Overlooking Proper Nail Shaping:
Jagged Edges: Rough, chipped nails may ruin your design. Ensure you buy an excellent nail file and file off the rough bit for clean finishes.
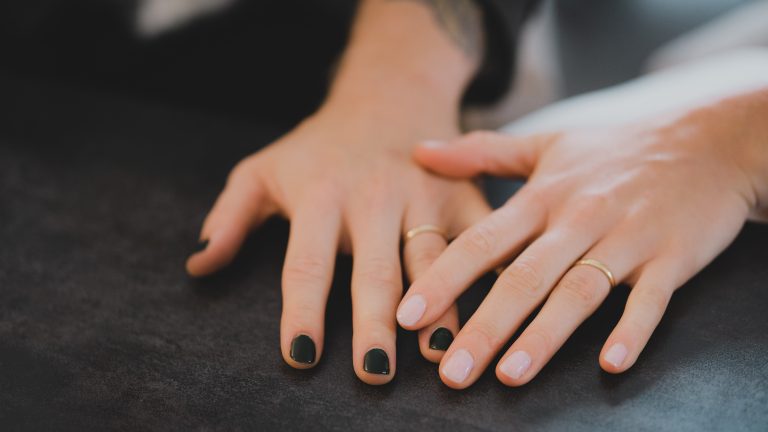
Uneven Lengths: Let your nails grow naturally as they are. Or better still file them to the desirable extent but with even and smooth strokes.
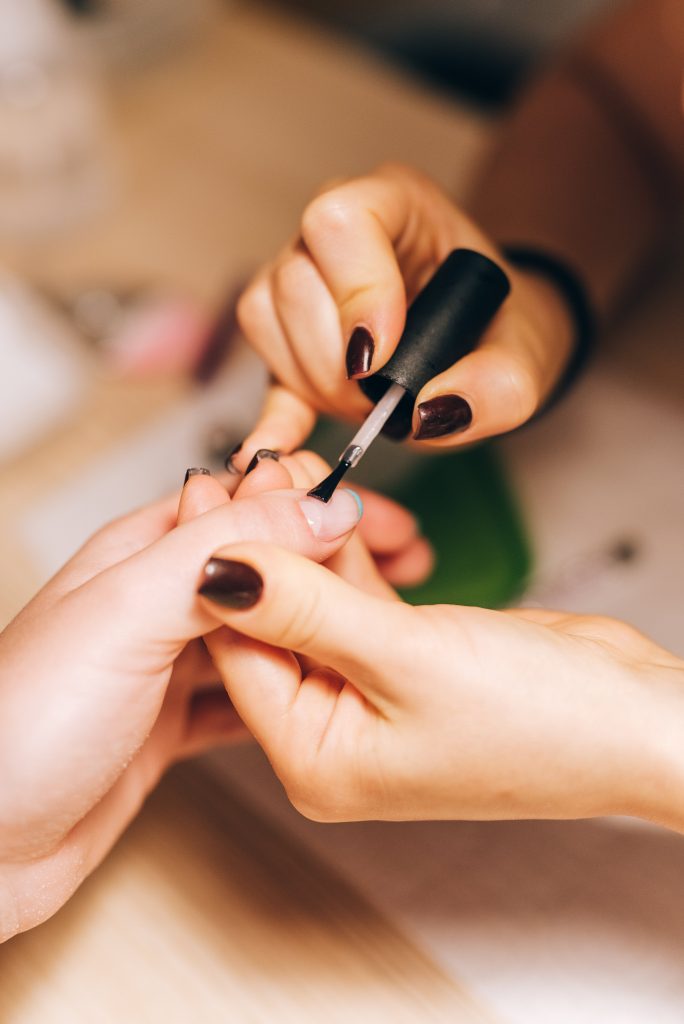
Ignoring the Importance of Base Coat Application:
Shield and Seal: The manicure becomes more durable when provided with a base coat that serves as a barrier to staining and promotes polish adhesion.
Smooth Canvas: It is applied in order to provide an appropriate ground for the polish to stick upon without being streaky and with the same color distribution.
It may sound trivial but a prepared canvas is the first step to a great DIY nail art. By adopting this simple techniques into your practice, you will set the foundation for robust and chipping resisting masterpieces.
Keep watching as the second episode focuses on the perilous path involving erratic tools and design excess.
Rushed Nail Art Techniques: A Recipe for Disaster
Even the most experienced nail artist may fall into the danger zone of impulse techniques. However, take caution as speed kills, even with nail art. How do you control speedy brushstrokes to bring perfection? Let’s unfold the perils.
Hasty Line Work and Lack of Precision–Common Mistakes to Dodge in DIY Nail Art
• Shaky Hands, Wobbly Lines: Speeding up your strokes will yield a distorted design with jagged and uneven lines which are no good for design beauty. Take it slow, take deep breaths, then place your hand on a solid base to stabilize yourself.
• Ditch the Dots, Embrace the Thin Line: Use thin brushes for detail work and avoid clumping the polish for thick lines. Always go for multiple thin coats and stay away from one big lump!
Neglecting Detailing in the Rush-Common Mistakes to Dodge in DIY Nail Art
• The Devil’s in the Details: Failure to include the finishing touches can make your design seem incomplete and drab. Make sure to take care of the minute details in this process—whether you want to create sparkly highlights, outline shapes, or tidy up the edge of nail polish.
• Less is More: Do not try to use details as a substitute for rushed execution. However, sometimes a simple approach often says more than necessary and just one accent may lift your designs to unprecedented level.
Unplanned and Chaotic Nail Art Approaches-Common Mistakes to Dodge in DIY Nail Art
• Winging it Can Lead to Wings Falling Off: Having a specific plan is crucial before jumping into the details of an intricate design. Be prepared to sketch your design before you start. Experiment with different colors on paper, and place your elements carefully so that your final image does not turn to an unplanned chaotic mishmash.
• Embrace the Power of Stencils and Guides: Do not hesitate to seek help in drawing straight lines and shapes from instruments such as stencils, stamps and stripping tape. They will work with you to create coherent designs despite the short period of time.
You just remember the fact that rushing on your nail art is always a waste of effort and time. Let the meditative nature of the process work for you as you linger on and enjoy each of the mindful strokes, and celebrate the pleasure of making art on your time.
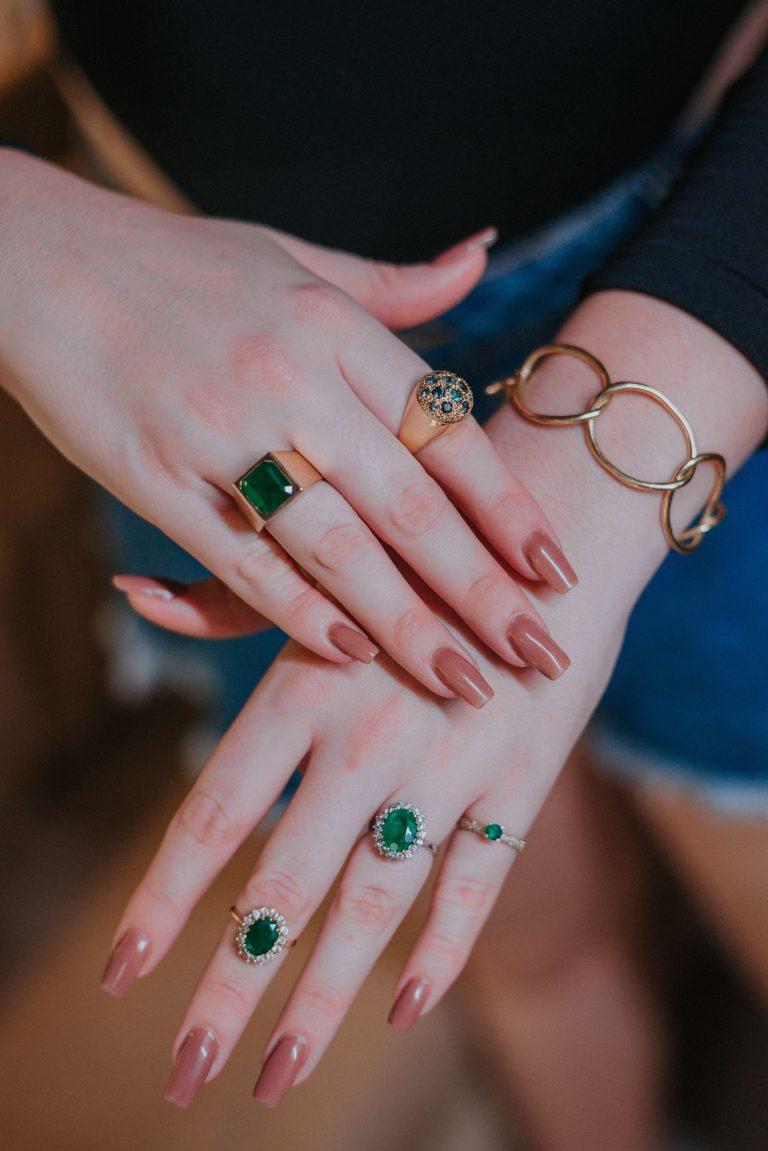
Overcomplicating Floral and Botanical Designs: Taming the Garden on Your Nails
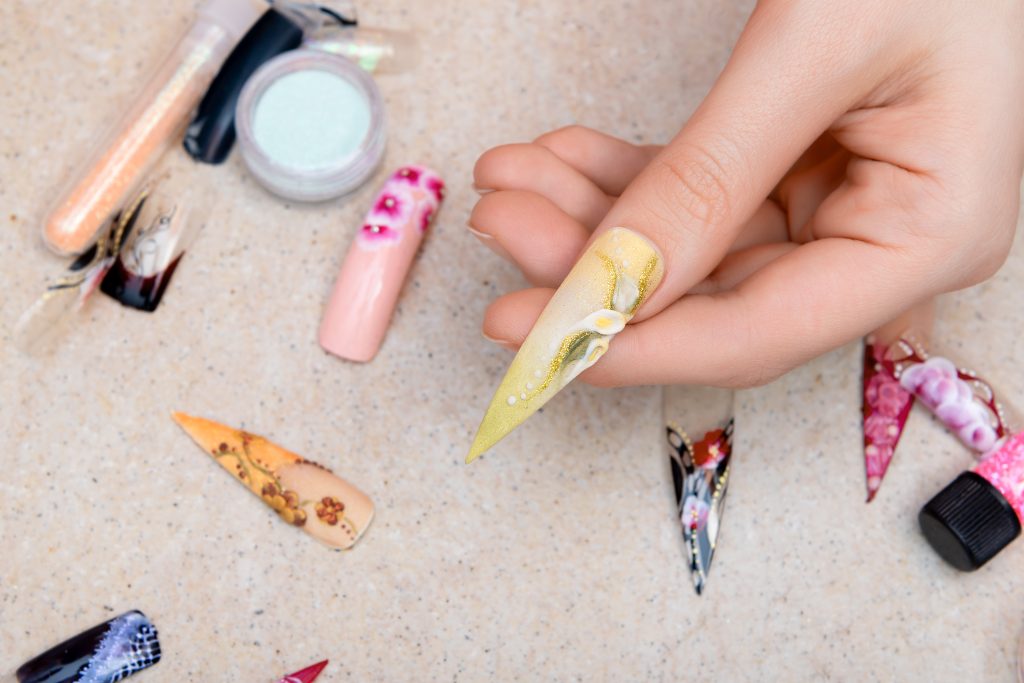
Floral and botanical designs in nail art are delicately beautiful. Though, it’s tempting to get into excessive detailing, which will result in your nails turn into a jigsaw puzzle with misplaced leaves and blown-up flowers. Let’s explore this rich scenery and decipher the ingredients for alluring yet uncomplicated floral arrangements.
Too Many Petals and Overly Elaborate Flowers-Common Mistakes to Dodge in DIY Nail Art
• Less is More: Avoid excessive amounts of petals and intricate details when packing your nails. Begin with simple ones, then move on to the complex once you have perfected your skills.
• Embrace the Power of Negative Space: Do not be scared to have some areas on your nail uncovered. Negative space enables your design to breathe and avoids overcrowding your work.
Misplaced Leaves and Stems-Common Mistakes to Dodge in DIY Nail Art
• Composition is Key: Make sure that you pay special attention to where you place the floral elements. Arrange the leaves and stems so that they appear balanced and flow naturally without crowding around the focus.
• Mirror the Natural World: For your inspiration, see real flowers and leaves. Observe how their shapes and settings induce a feeling of equilibrium and harmony.
Failing to Balance Intricacy with Simplicity-Common Mistakes to Dodge in DIY Nail Art
• Know When to Stop: On the brighter side, however over explaining could overshadow your design. Figure out the limit, and retreat before you knot these flowers together yourself.
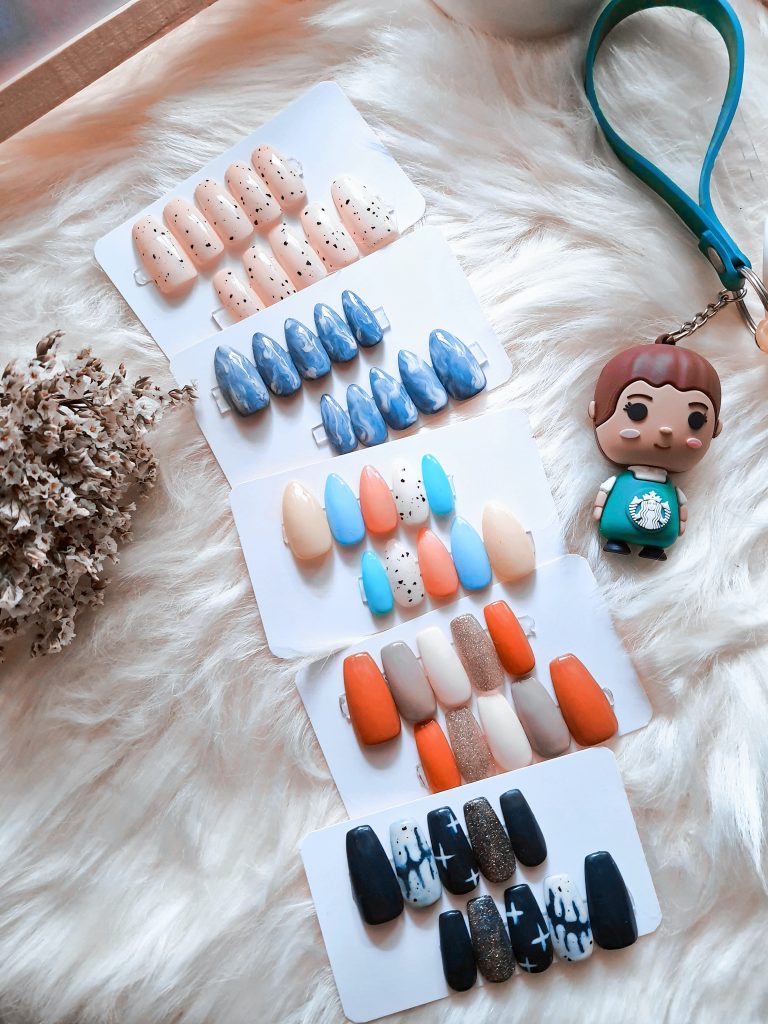
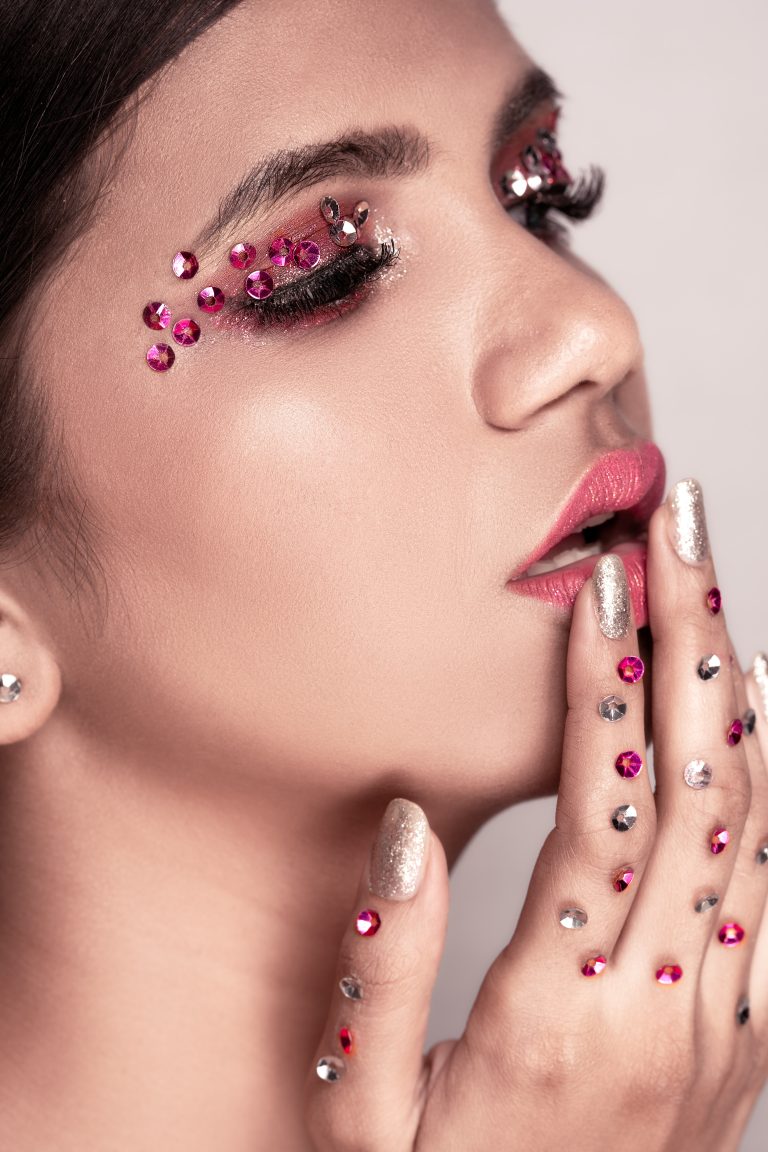
• Embrace Contrast: Use different textures and finishes to stimulate visual interest. Go for a combination of matte, shiny and even glitter for that playful look.
While considering this, note that botanical and floral designs are all about admiration of subtle, feminine beauty of Mother Nature. Treat them with respect, aim at harmony in compositions to give birth to your imagination and do not be scared. Be slightly cautious but attentive and after few days you will start growing pretty flowers on your fingers.
Subsequent articles will shed light on challenges associated with the color theory, textured art, and the nail art clean-up.
Mismanagement of 3D Effects: Embracing the Illusion of Depth without Diving into Disaster
Oh yes, 3D nail art– a world without limits where the texture goes beyond the nail and designs appear two dimensional.” However, go unarmed into it, and your fingers may turn into a bewildering mess of out-of-place and mixed textures. Fear not, intrepid nail artists! A few essential tips in mastering 3D illusion and bringing together outstanding and well-integrated designs that really stand out.
Inconsistent 3D Texture Application-Common Mistakes to Dodge in DIY Nail Art
• One Stroke Wonders: Single and randomized strokes won’t be of great help to your 3D textures. Create an illusion of depth by using varied multiple layers of different thickness and direction.
• Tools are Your Friends: Utilize dotting tools, small brushes, or even toothpicks, in order to form your textures. The minute allies could assist you in getting exact bumps, ridges and minute details.
Using Too Many 3D Elements in a Single Design-Common Mistakes to Dodge in DIY Nail Art
• Less is More: Do not succumb to temptation to pack all your 3D techniques into one nail. It should, however, not be overcrowded with textures that may make the design look messy or unreadable. Focus on a few elements that really stick out.
• Focal Point Power: Assign only one nail for the 3D work, and make the rest simpler. It ensures that your main design remains prominent without causing sensory overload.
Conclusion: Conquering the Canvas, One Brushstroke at a Time
Exploring the path of DIY nail art can be a fun ride on the other hand it poses challenges. If you understand these common pitfalls and avoid them, your journey will be a fulfilling one instead of frustrating. Bear in mind that each failure is a ladder to perfection, and every sketch, however trivial, is an evidence of you talent and passion for art. This is why you should enjoy the learning process, be bold in your experiments as well as delight in the opportunity to style your fingers using your own artistic interpretation.
FAQs: Your Nail Art Queries Answered!
Q: How can I keep away from chipping my DIY nail art?
A: Proper prep is fundamental! Clean your nails thoroughly, follow a base coat, and use extremely good polish for an extended-lasting nail clipping. Don’t forget about the top coat for introduced safety!
Q: What’s the first-rate manner to restore nail art mistakes?
A: Dip a cotton swab in acetone-free remover and lightly smooth up any smudges. If the error is bigger, you could use a fresh coat of polish to cowl it up or maybe start over with a brand new layout.
Q: How can I improve my nail art skills?
A: Practice makes perfect! Start with simple designs and gradually boom the complexity as you get extra cushty. Watch tutorials online, test with different equipment and techniques, and don’t be afraid to ask for recommendation from different nail fanatics.
Q: What are some right resources for DIY nail art proposal?
A: Pinterest, Instagram, and YouTube are treasure troves of nail art thought! Follow your favourite nail artists, browse through hashtags like #DIYnails and #nailartideas, and get inspired by using the endless opportunities!