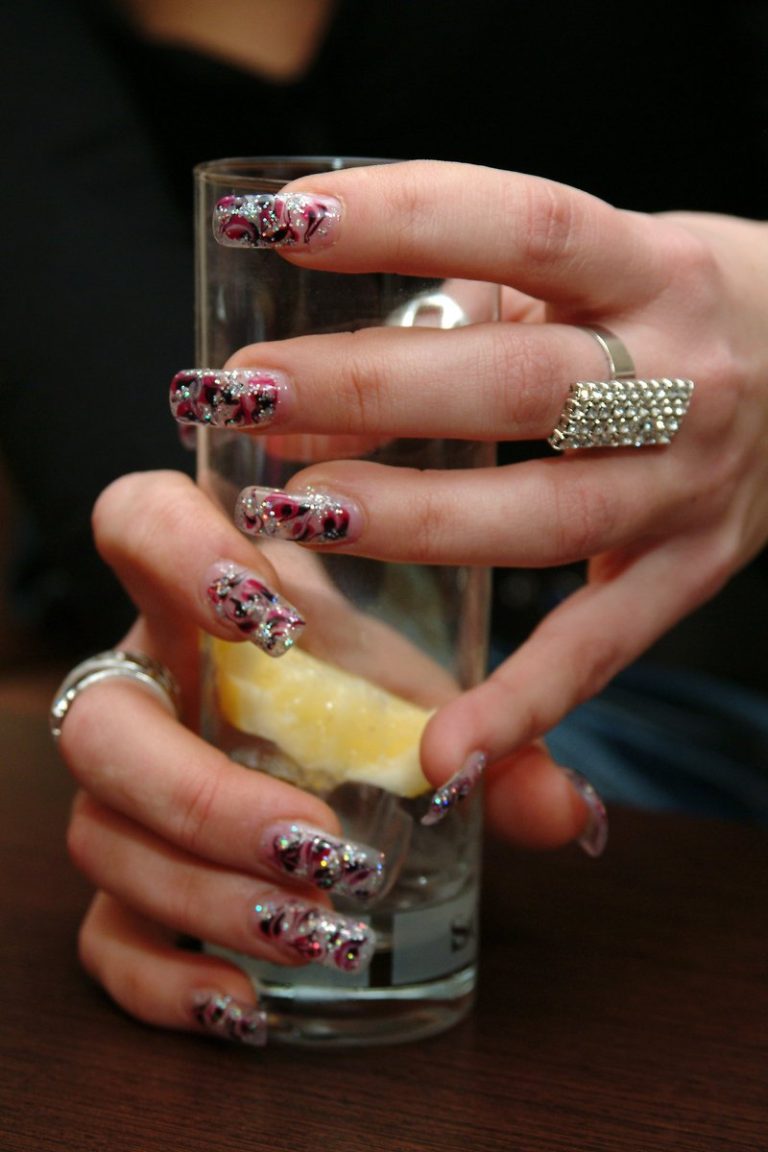
Come along to the exciting DIY nails art. If you’re either a pro or a novice when it comes to miniature painting, then using the appropriate equipment is a must, because you should be able to unleash your creativity on a small canvas. Just like every artist, nail art enthusiast uses certain devices to turn their imagination into beautiful manicures. However, traversing around all the brushes, polish and gadgets is a task. Do not be frightened, fellow nail artist for in this guide is knowledge to assist you in making right choices that will take your nail art to another level.
The Importance of Quality Tools in Nail Art Tools for DIY Projects
Quality tools aren’t mere symbols of prestige but rather an integral part of your artistic process. Selecting the appropriate brush guarantees a seamless, correct application while eradicating frustration. Picture using a chunky brush to paint a delicacy like a flower. You wouldn’t get pretty results. Just as choosing high-end polishes mean brighter colors, longer wearing and perfect finish. However, using cheap tools is likely to result in a streaky application, chipped nails, and ultimately wasting of time and effort employed in vain.

Elevating Your Nail Art Game with the Right Tools
It gives you a chance to exploit your creativity without limits. Think of the difference between using a simple dotting tool and fine-tipped micro-brushes for detailed designs. The angled brush is better as it is sharper than a wobbly one could imagine; that will be frustrating as the aim would be to produce clean lines. The right tools will open up methods of expression that you are comfortable with thus making a bold statement at what you do.
Overview of Nail Art Tools for DIY Projects Categories
Now, let’s get into the fabulous nail art tools! We’ll break down the essential categories to equip you with the knowledge to make informed choices:
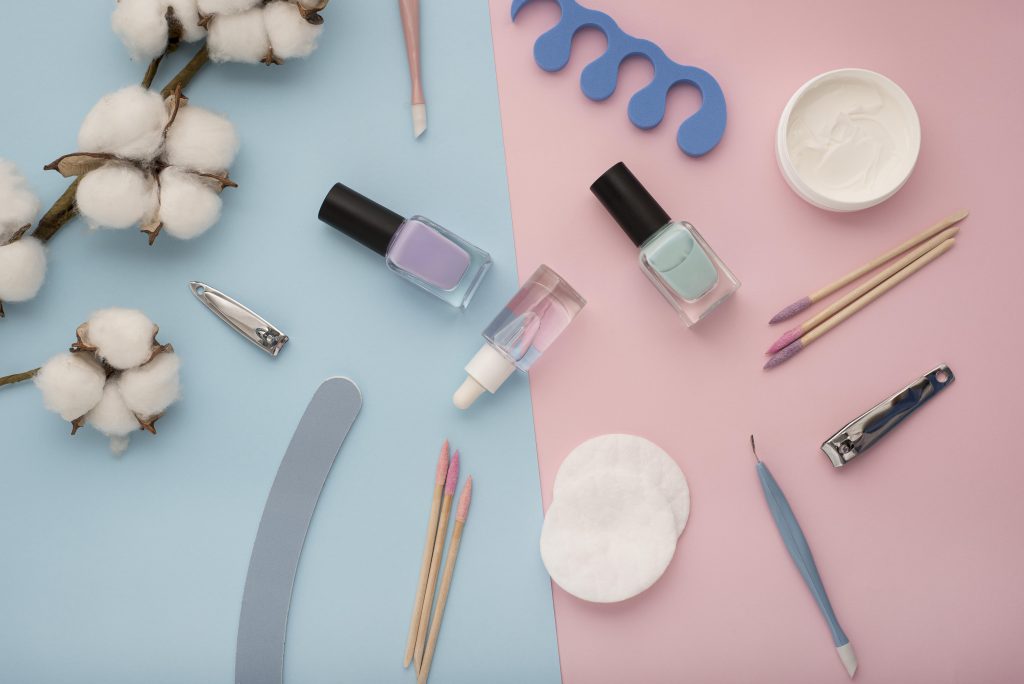
Essential Nail Prep Tools:
• Nail Clippers and Files: You, therefore, need to use shaping and smoothing process to ensure you have a perfect outcome.P Purchase good quality clippers and files to shape and buff gently.
• Cuticle Pushers and Removers: A professional-looking manicure is built on neat cuticles. Pick up cuticle pushers that will not harm the nail bed and soft removers so as to curb irritation.
• Base and Top Coats: They are invisible but they guard your art and add a life to it. Seek out base coats which enhance adhesion and top coats which produce a high shine, chip resistant coat.
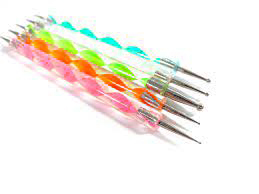
Nail Art Brushes:
• Striper Brushes: These fine-tipped, angled brushes will give you crisp lines and geometric designs.
• Detail Brushes: Purchase fine-tipped detail brushes of different sizes for those intricate details like flowers, swirls, and dots.
• Dotting Tools: There are different useful sizes and shapes to make polka dots, marbling and fine lines.
Polishes and Paints:
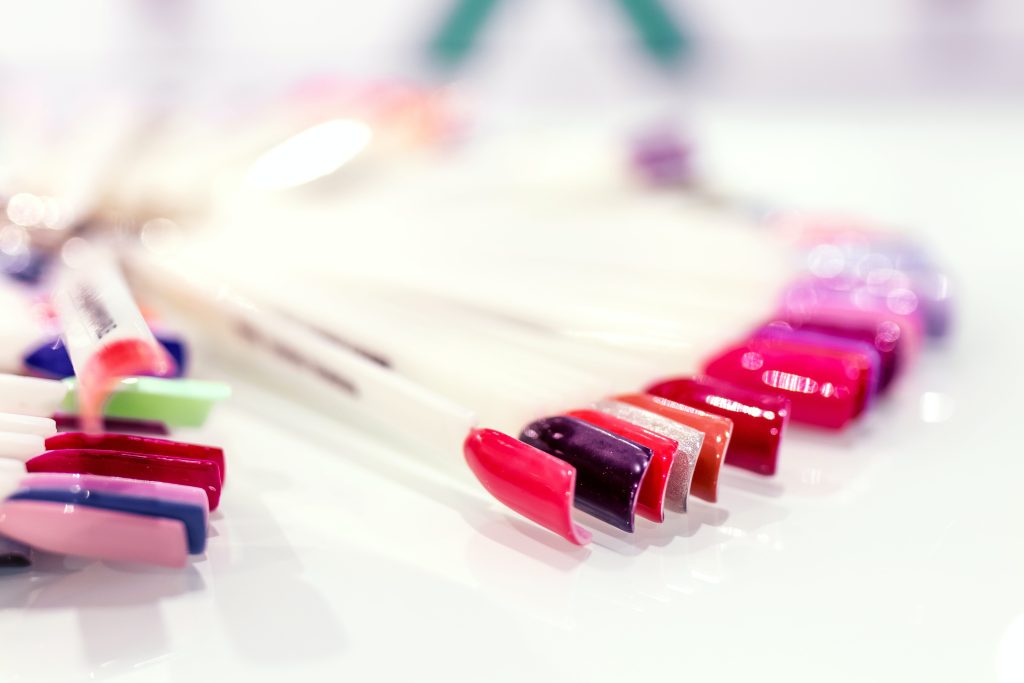
• High-Quality Nail Polish: Look out for trustworthy manufacturers which are brilliant and have quality texture to use and stay on the pores and skin. Try test with numerous coats along with gel, matt, and coloration to create depth to your designs.
• Nail Art Paints: If you’re looking for problematic information in addition to ambitious pops of coloration, then invest in specifically formulated acrylic paints for nails. Use extraordinary styles of colors and mix them collectively in case you want to gain particular sunglasses.
Additional Tools and Accessories:
• Nail Art Stencils: Stencil designs that include animal print, geometric patterns, and fine laces.
• Rhinestones and Embellishments: Include various sizes and types of rhinestones, beads, and charms.
• UV/LED Lamp (for Gel Polish): If you are into the glossy appearance of gel polish that lasts for quite some time, it would be wise for you to buy a UV/LED lamp.
This is where I am not even mentioning all the nails art tools and techniques! Be prepared to a comprehensive article on each category with exhaustive details about different ways, steps, and techniques to make your own nail painting.
On the other hand, make sure you pick your utensils depending on the level of your skills and results you would like. Following this guide and instruction, you will begin mini nails art.
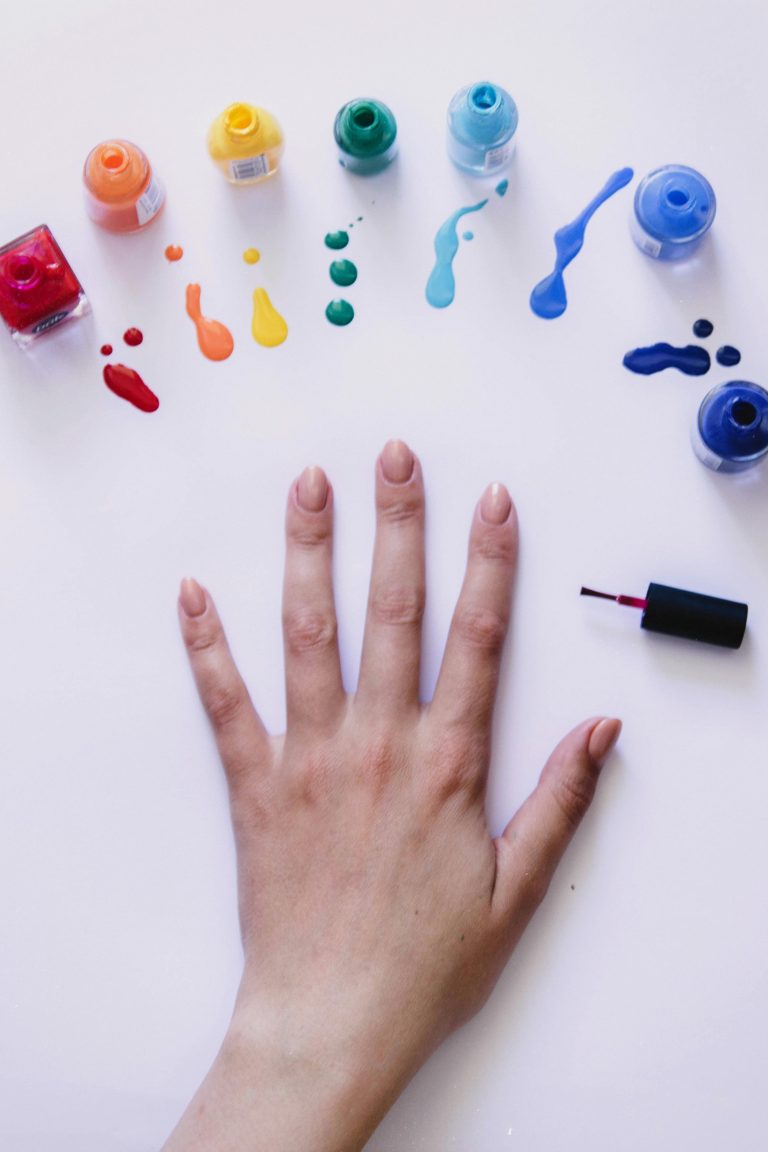
Nail Polish Essentials: Your Palette to Perfection – Nail Art Tools for DIY Projects
Picking paint for your fingertips is like visiting a candy shop-all sorts of colors, sheens, and textures await to inspire anyone’s imagination. Nevertheless, it is more than simply selecting the most alluring colours to form a lively and working palette. How about we look at the basic necessities in your nail polish closet?
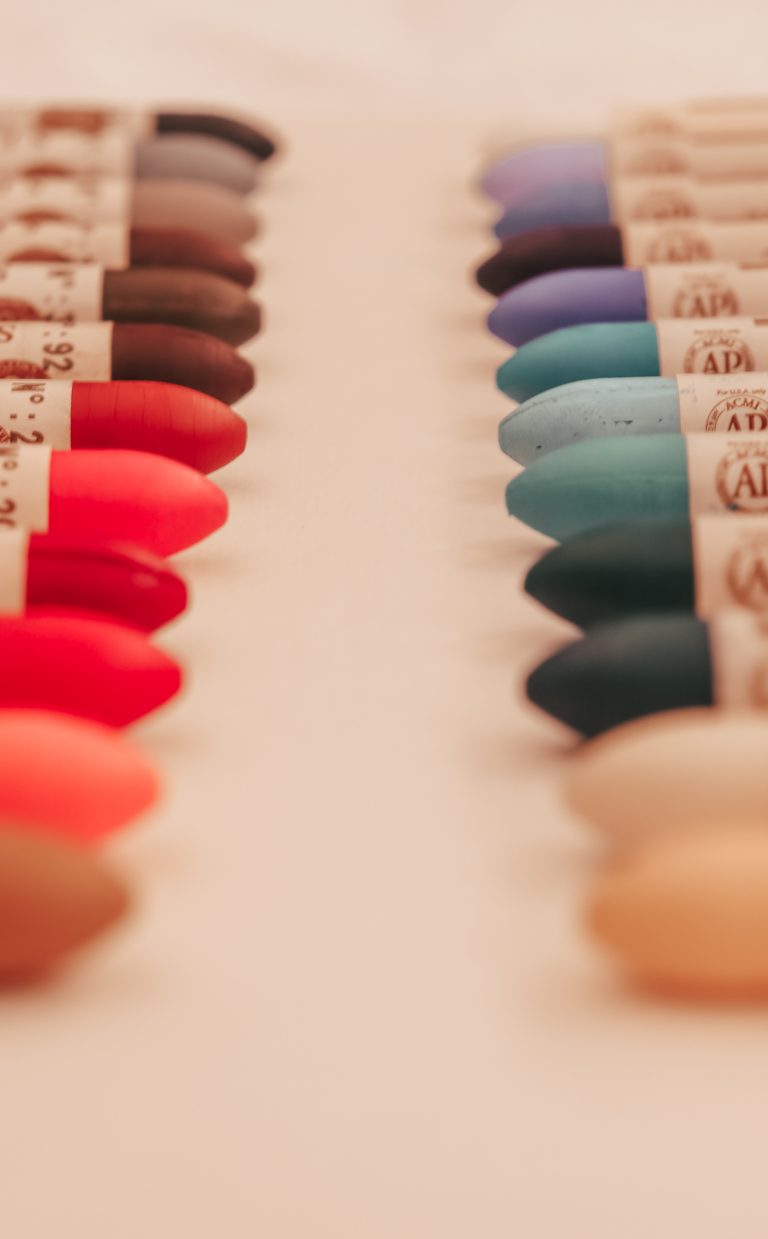
Selecting a Diverse Color Palette
The set of such a complete kind should be able to cover various feelings and incidents. Here are some key considerations:
• Neutral Staples: Your wardrobe has the classics in shades of black for nudes, white and beige as the core. They can be used alone for an upscale look, layered on for various textures and as a background for a more pronounced design.
• Pops of Color: Include some color by mixing different tones of reds, pinks, blues, and greens. Attention grabbers can be used in casual outings or added to formal outfits for fun.
• Seasonal Shades: Incorporate warm tones like orange and corals for summer, deep blues, and purples for winter, and soft pastels for spring and autumn depending on the changing seasons.
• Shimmer and Shine: Instant glamour is created by metallics, glitters, and holographic polishes. They can save them for a few statement accents or for a night of glamour in a full-style outfit.
The Importance of Base and Top Coats – Nail Art Tools for DIY Projects
Base and top coats function like bodyguards of your nail art piece of art. They play crucial roles:
• Base Coat: Gives the surface a flat uniformity before polishing such that stagnation of the polishing agent does not cause chipping or staining. Go for a formula formulated for your nail type including ridge-filling for uneven nails and strengthening formulas for weak nails.
• Top Coat: Seals in your polish, guarding against scratches and adding years of service to it. Choose high-gloss formulas for glossy appearance or matte top coats for a contemporary, velvelty effect.
Specialty Nail Polishes for Unique Effects
Go beyond the ordinary with these unique polishes:
• Crackle Polish: Adds a cool, rough finish on top of your background color.
• Magnetic Polish: Metallic particles that respond to a magnet and make mesmerizing patterns inside infusion.
• Chrome Polish: Mirror shine resembling liquid metal.
• Neon Polish: Provides an after hours party look upon being glowed under blacklight.
• Multi-chrome Polish: It changes colors according to the light, forming an illusion of the rainbow.
Choose a few shades of the necessary polish, and you will become a real nail artist expert.
Join us in Part 3 as we explore the essential brushes and dotting tools needed to translate your nail art ideas into reality.
Nail Art Stamps and Stencils: Your Creative Playground
Want something more sophisticated than single freehand strokes? Unlock the door into the mystical world of stamps and stencils, where all kinds of beautiful patterns are available.
Discovery of Nail Stamping Techniques The magic about nails is just a touch and a stamp, and you’re done! Your fingertips can have instant geometric patterns, delicate florals, or even playful animal prints. It’s surprisingly simple yet endlessly versatile:
• Basic Stamping: Use a base color, then apply a stamp with a stamping polish (heavier consistency for better transfer). Firly press and gently lift for a sharp design.
• Double Stamping: For dimensional effect use layer two contrasting stamping polishes.
• Gradient Stamping: Mix different stamping polish on one stamp and place it on your nails for an ombre look.
Advantages of Nail Art Stencils
Stencils are another method. These adhesive guides come in a plethora of designs, from simple stripes and chevrons to intricate lacework and abstract patterns:
• Precision and Control: Crisp lines and uniform shapes come up when using stencils that are suitable for newbies and those who do not know freehand techniques.
• Versatility: For more complex and unique creation use layer different stencil or combine with stamping.
• Time-Saving: These can be done effortlessly with ideal stencils which are made just for busy bees.
Tips for Precise Stamping – Nail Art Tools for DIY Projects
Unlock the full potential of stamps and stencils with these pro tips:
• Use the right polish: Choose from stamping polishes that are optimized for transfer and fast-drying.
• Clean your stamp: Always clean your nails with nail polish remover prior to each application.
• Scrape the excess: Use a scraper card to remove excess polish before stamping, gently scraping it off the stamping plate.
• Apply even pressure: The transfer should be clean because you have pressed the stamp firmly and evenly onto your nail.
• Lift at an angle: Lift the stamp slowly upwards at an angle of 45 degrees to avoid smearing.
Practicing with these tips in hand will enable you to become an expert in stamping and stenciling in a short while.
Quality Nail Files and Buffers: The Foundation of Flawless Nails
Bear in mind the foundation – the perfect nail form and the smooth canvas are preconditions for the final effect. Here’s how to choose the right tools:
Importance of Proper Nail Shaping
The appropriate shape can also lengthen your finger, fit to hand shape, and avoid to chip. Popular choices include:
• Oval: Suitable for many different hand shapes.
• Square: Suitable for long fingers, classic, and elegant.
• Round: Feminine and delicate – for medium length nails.
Picking an appropriate grit for nail files.
Grit is the term used to describe the roughness or coarseness of the file. Choose wisely:
• Coarse (80-100 grit): Shortening for thick, fake nails.
• Medium (180-240 grit): Perfect for filing and smoothing the natural nails.
• Fine (320-400 grit): Light scrubbing for smoothing and ridge removal.
Conclusion: Unleashing Your Inner Nail Artist
Congratulations! Embark on the thrilling journey through the world of home-made nail art. Indeed, with all these skills, your hand is capable of converting it into micro masterpieces. Remember, you are doing this with the intention of exploring, practicing, and ultimately discovering yours. Thus, release your thoughts; engage in painting; and have your favorite nail colors on.
FAQs:
What are a few crucial nail art tools for novices?
Here are a few must-haves for each aspiring nail artist:
• Nail clippers and documents: Invest in notable tools for particular shaping and smoothing.
• Base and top coats: Protect your art work and increase its life.
• Striper and detail brushes: Achieve crisp traces and difficult information.
• Dotting system: Create playful polka dots and complicated styles.
• Neutral and colourful nail polishes: Build a flexible palette for diverse moods and sports.
How can I beautify my nail art talents?
Practice makes ideal! Here are some tips:
• Start with easy designs and step by step build yourself perception.
• Watch nail paintings tutorials on-line for concept and method guidance.
• Experiment with first-rate gear and polishes to discover your favorites.
• Don’t be afraid to make mistakes – embrace them as studying possibilities.
• Share your creations with pals and on-line groups for feedback and encouragement.
Where can I find out more nail art idea?
The global is your oyster! Here are some property:
• Pinterest and Instagram: Explore a massive series of nail paintings designs and tutorials.
• Nail art work blogs and magazines: Get expert hints and the modern trends.
• Follow your chosen nail artists on social media: See their modern manner and analyze from their techniques.
• Local nail salons: Visit a salon for concept and ask the technicians for guidelines.