Electric nail drills have established themselves as vital in the nail art world where precision takes center stage. They are high-tech wonders that have transformed nail car, giving accuracy, speed and ease that conventional files and emery stones do not have. However, the same cannot be said about individuals not familiar with electric nail drills. Do not worry because this all-inclusive guide will unravel secrets of these great devices, exposing their capabilities for professionals and home users.
Introduction
Definition and Purpose of Electric Nail Drills
These are handheld power tools with rotary-cutting heads that are used for sculpting, filing and sanding natural or artificial nails. The bits include various shapes and grits and are meant for different purposes such as the removal of gel polish, refining cuticles and sculpting acrylics. The drills also features a variable speed that is set to ensure safety and comfort while working on nails.
Evolution of Nail Care Tools
We have come a very long way from orangewood sticks and emery boards. Early attempts at mechanization were fraught with crude, clunky tools that were inaccurate and dangerous. Electric nail drill was invented in the 1960s which came as an improvement which was compact, efficient, and versatile. However, such tools have been further enhanced by modern technology to make them more silent, smooth, and convenient for the individual.
Significance in Modern Nail Salons
An electric nail drill has become almost a must-have in any contemporary nail salon today. Therefore, technicians perform their jobs efficiently since they are fast and more efficient in serving their clientele. It ensures precision and control and allows complex nail art designs to be created, as well as intricate shaping that takes service to another level. In addition, e-files ease the process of removing the stubborn gel polishes and acrylics hence avoiding the tough labor involved in the manual methods.
The Future of Nail Care – You Need to Enter.
Nail drills should not be viewed as simple tools but an extension of nail artists. Precision and versatility make these tools suitable to both professionals and home enthusiasts, giving impressive end results. Hence, jump into the world of e files and embrace boundless options available for manicure!
Therefore, the initial segment of your exciting journey through the electronic nail drilling begins. In the following sections, you will get more about different parts of such great instruments, pick your drill, and the necessary skills. Let’s be ready to become our personal nail artists and update the process of care about nails.
Understanding Electric Nail Drills
Having this knowledge on electric nail drills, let’s take a closer look at their anatomy, types, and how to pick the right one for your needs.
Anatomy of an Electric Nail Drill:
Consider your e-file a miniature power plant for your nails. Its key components include:
- Handpiece: The motor and bit attachment is housed in this ergonomic handle. Various models provide different weights, grip positions, and rotation directions (forward/reverse) to ensure maximum comfort and control.
- Motor: That depends on the heart of the drill’s power which is responsible for the speed and torque. Stronger motors deal with the thick acrylics and gel polishes like a walkover, whereas weaker motors suit the delicate natural nails or people newbies.
- Speed Control: There is an adjustable dial or button which allows one to change the rotation speed in a range of 3,000 to 30,000 RPM. Begin with low initial quantities and increase as you start to feel comfortable with the process.
- Bit Holder: The interchangeable nail bits are held securely by this safe collet. Choose a drill that comes with a fast bit-change feature.
- Dust Port: An air suction device vacuum sucking the dust from filing and dust particles into your workplace in an air suction device vacuum sucking the air from your workplace.
Types of Electric Nail Drills:
There are so many options available in this regard hence making the choice of the right e-file a bit cumbersome. Here’s a breakdown of the two main types:
Corded vs. Cordless Drills:
- Corded Drills: They usually have higher power ratings and consistent power supply suitable for heavy applications on the casting of acrylics. However, the cord may limit mobility and is a trip hazard.
- Cordless Drills: These cordless drills come at a lesser weight as opposed to the previous ones. Additionally, they have more mobility hence flexibility of movement. However, they can have short battery life and less drive compared to corded versions. They can be used for travel, at home, and for small jobs.
Pen-shaped vs. Block-shaped Drills:
- Pen-shaped Drills: These items are light in weight and have an ergonomic design, allowing for ease of control and movement, perfect for delicacies like nail cuticle care or delicate nail artist work.
- Block-shaped Drills: These drills are heavier and stronger for acrylic removal, or heavy filing of thick gel polish.
You should choose the right model based on your needs or tastes. For example, think of your capacity, scope of work, weight, and strength.
Choosing the Right Electric Nail Drills:
In the end, choosing a better e-filed partner may actually make the difference between having a fantastic time and a terrible experience when having a manicure or a pedicure. Here are some key factors to consider:
Factors to Consider:
Speed and Power Settings: Therefore, a drill with variable speeds will serve any needs better. The speed values that are so low can range from 3000-10000 RPM for amateurs working on soft materials and up to 15000-30000 RPM used by professionals when using acrylic or gel removing needs.
Bit Compatibility: Your particular drill should also be compatible with the corresponding types of bits. Dedicated solutions have better task performance but universal bit support is more flexible in some cases.
Ergonomics and Design: Go for a drill that sits comfortably in your hands and you’re not overburdened with. Keep an eye on your weight, grip style, and level of vibration so you do not get tired and take command immediately.
Noise Level: Nevertheless, various e-files have some noise but are noisier than other files. Remember to inquire on how much noise you can tolerate and the salon you feel most at ease and choose a salon accordingly.
Remember: One has to attempt to use different drills and consult experienced nail technicians as well as beauty experts before making the purchase. The best lifetime file e-file for the nails of your dreams.
Refer to the subsequent chapters for further details of the how to e-file like a master. At last, you will also gain a lot about drilled bits.
Safety Measures in Electric Nail Drill Usage
Precision with electric nail drills, however, should never be traded for safety no matter what. Such misuse can cause injury or infection. Here’s how to keep your nail care journey safe and enjoyable:
Importance of Safety Precautions:
- Always follow the manufacturer’s instructions: Each of these drills has a specific operating guideline. Do not operate at excessive speeds and do not overstress the bits.
- Be mindful of bit rotation: Make sure that the bit rotates the correct way to avoid snagging or mis-seating.
- Inspect bits regularly: Ensure that there are no cracks and worn out spots on your firearms before using them. Replace damaged bits immediately.
- Avoid overheating: Prolonged drilling at high settings may cause overheating of the drill’s drill and damage to bit.
- Use proper hand position: Do not hold the drill so tightly. However, this should be done lightly so as not to tire out or strain oneself.
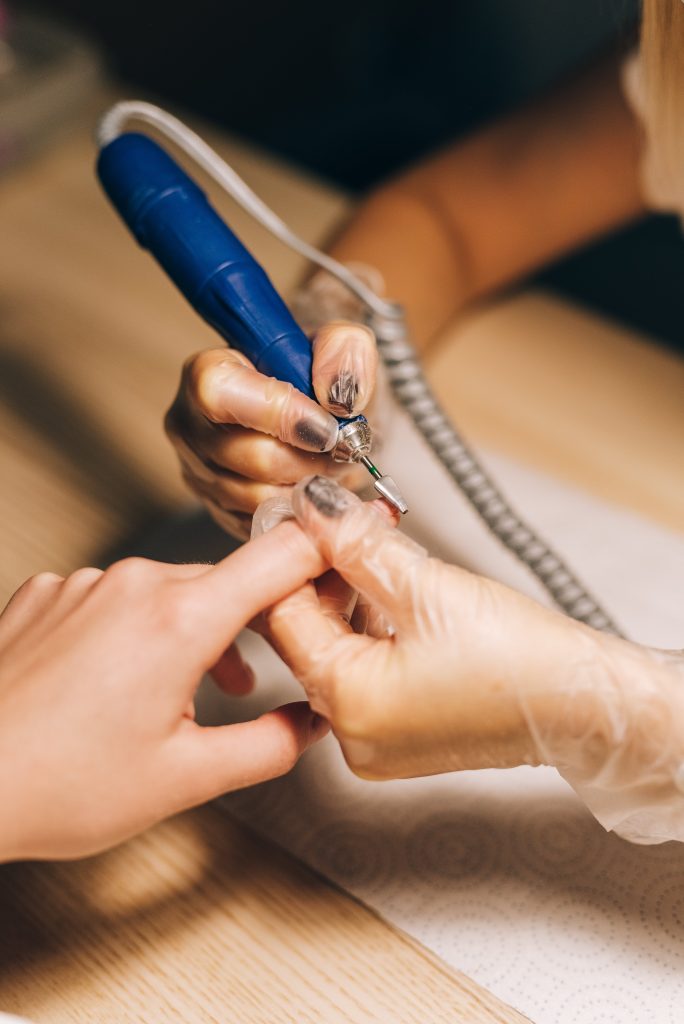
Protective Gear for Nail Technicians and Clients:
- Safety glasses: Remember to wear goggles or glasses to keep your eyes free from being hit with debris and dust. Purchase wider side shield safety glasses.
- Dust mask: For example, this may be caused by inhaled dust particles. try not to inhale by wearing a disposable dust mask or respirator fitted with approved filters.
- Gloves: Wear latex or nitrile gloves to ensure that you do not come into contact with chemical, dust, or infection-bearing hands.
- Apron or smock: Protect your clothes as thoroughly as you can from dust and dirt of any kind. Wear a washable apron or smock designed for nail technicians.
Proper Ventilation in the Workspace:
Some health issues may arise because nails emit a lot of dust or debris when drilling. To prevent dust build up, you must ensure that your workplace remains dust free. Therefore, open windows, a fan, and a dust extractor would be beneficial for ventilation.
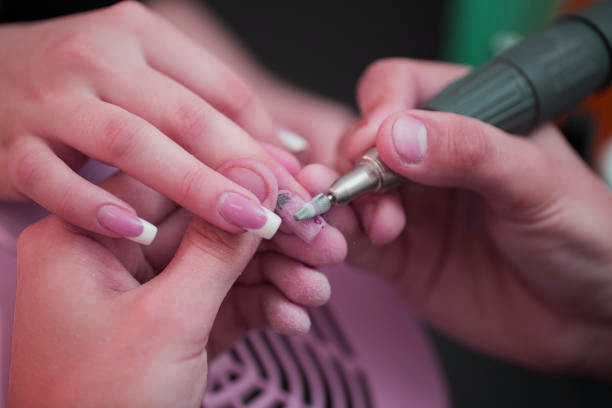
Nail Preparation with Electric Nail Drills:
Since you are now secure, let’s work on your nails in order to achieve precision shaping and polish. Here’s a step-by-step guide to nail surface preparation:
Step-by-Step Guide to Nail Surface Preparation:
Removing Old Polish:
- Using acetone-based remover, wipe off gently any remaining polishes using cotton pads.
- Do not soak your nails for too long, they may be weakened.
- Where the stubborn gel polish may be difficult to remove, make use of a removal gel, or manually file it down using a hard file.
Shaping and Smoothing:
- Trim and refine the natural nails by using a select coarse sanding bit.
- Start with a little bit pressure and move gently. Always, be sure to direct your nails in accordance with its growth.
- In cuticle do not be too close to the skin.
- The carbid bits for shaping and the high polishing bits for artificial nails would be of medium grade.
Remember:
- Ensure that you always take a break from overheating and hand fatigue during that process.
- Natural nails should also be soft-handed, with little to touch.
- Listen to your nails! Feel the patient or yourself for some sensitiveness and adjust your technique if there is such.
Pro Tip: Practice makes perfect! Start with fake nails or practice hands. First, try different bit forms and speed on the fake nails or practice hands.
The knowledge about the safety measures and preparations is the initial step that will ensure successful use of the tool. Therefore, the following section will be about what nail drill bits can do.
Conclusion: Unlocking the Power of Electric Nail Drills
This journey in the Electric Nail Drill’s world has proved that they can be accurate, diverse and take your manicure experience to another level. You are now an expert in the basic safety procedures and even with these dangerous tools you can develop great hair extensions. Remember, practice makes perfect! Take risks, experiment with different approaches and have fun!!
FAQs:
Can I use an electric powered nail drill on natural nails?
Yes, you may! Electric nail drills are ideal for shaping, smoothing, and buffing natural nails. Choose pleasant-grit bits and follow mild strain to avoid detrimental your nails.
What are the first-rate nail drill bits for beginners?
For beginners, consciousness on first-class-grit sanding bits for herbal nails and medium-grit carbide bits for getting rid of gel polish or minor callus removal. As you benefit self assurance, you may discover distinctive bit shapes and grits for precise responsibilities.
How can I prevent dust build-up whilst the use of an electric nail drill?
Proper air flow is crucial! Open windows, use a fan, or put money into a dust extractor to keep your workspace smooth and minimize dirt inhalation.