Introduction
The Joy of DIY Simple Nail Art Designs: Unleashing Your Inner Artist
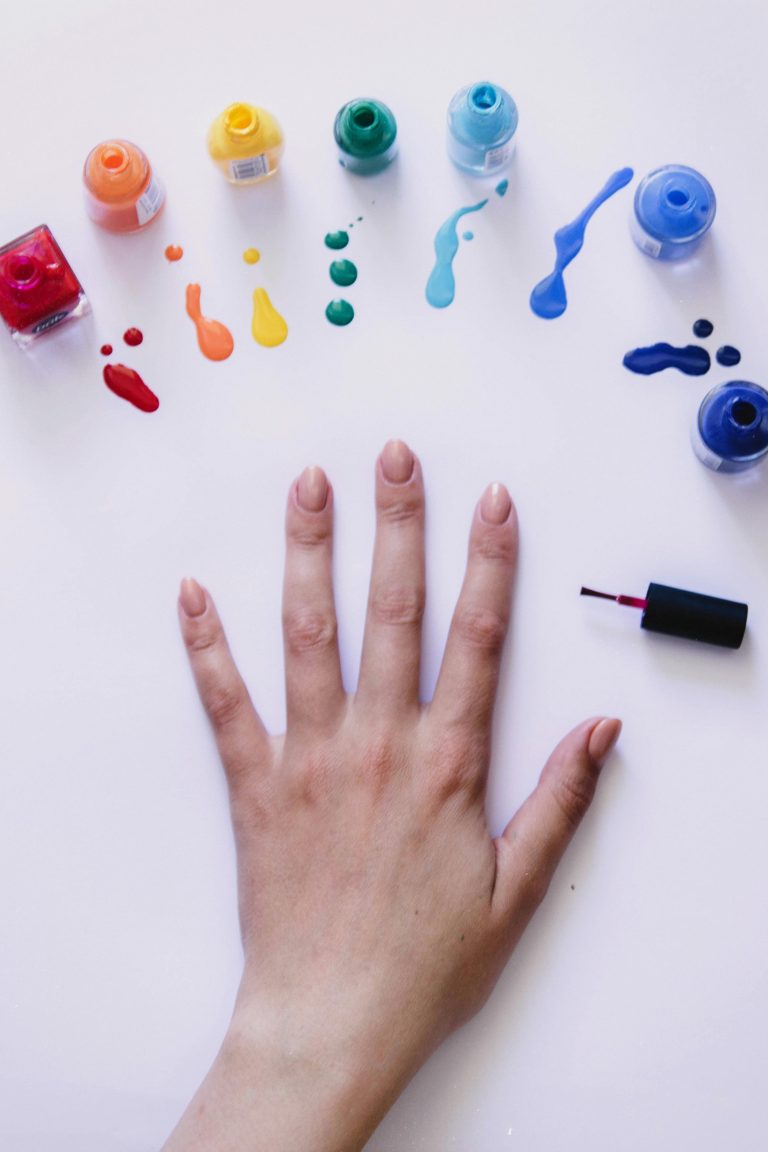
Gone are the days of pricey salon visits and mass-produced manicures. The world of DIY will have your nails painted, coloured, patterned and designed as you wish. It’s healing, a painting board and a bit of fairytale in your everyday life.
Think about the joy derived from changing the look of your nails from plain to glamorous with your own hands. The rush behind that sense of accomplishment is addicting. The best part is that anything is possible. Thus, put on your polish, let your instincts loose, and get ready to be impressed by the miracles that might emerge on these little boards.
Elevating Your Style with Simple Nail Art Designs: Beyond the Basic Beige
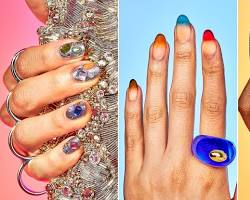
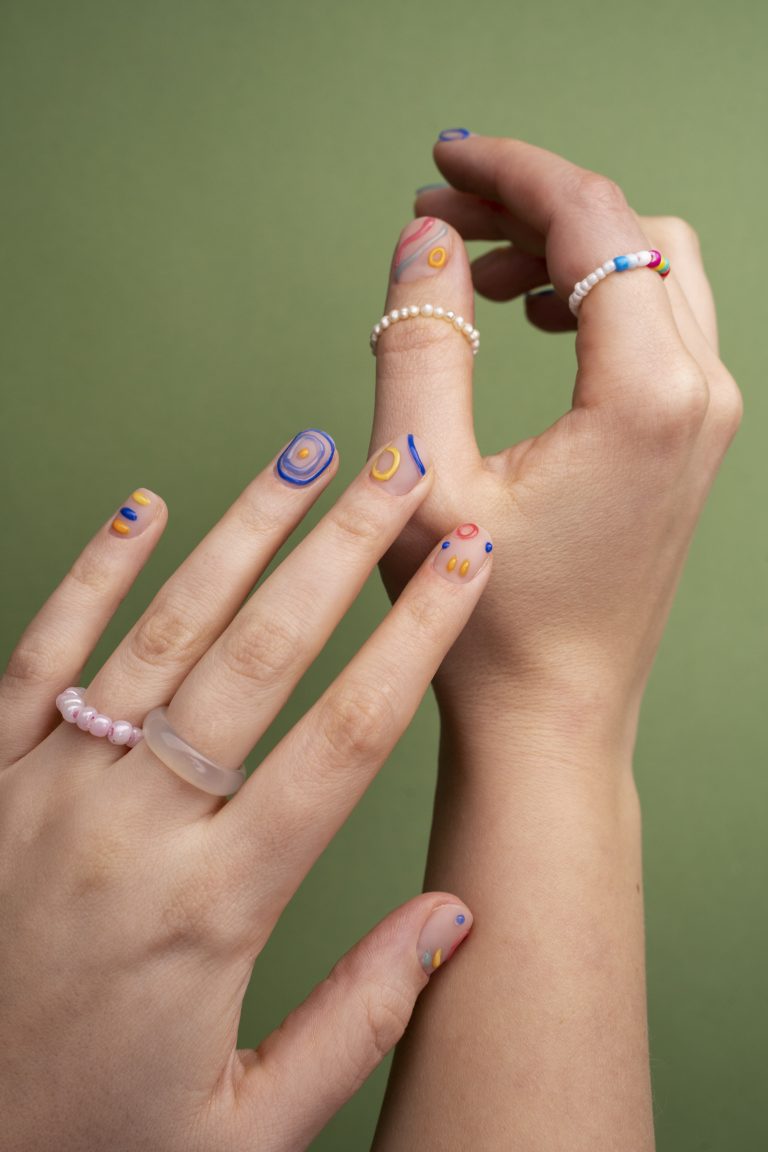
Those days are gone when nail art was only for special occasions. It is now an ordinary item; a hidden statement of the modern-day fashionist where he manifests and personalizes his own personality. If you are a minimalist craving for the straight lines and the geometric shapes, or a boho queen with the earthly tones and the floral patterns and also if you a pop art enthusiast with the bold colors and the playful patterns, there is a DIY nail design waiting
Consider your nails like your last piece of clothing. Picture yourself wearing a clean white shirt and fragile flower nails, as well as a long flowing maxi dress with bright flower nails. It can do wonders as there is a whole realm of it. One does not have to be an artist like Michelangelo to design appealing designs. You can dress up your nails with simple but effective methods in a blink of an eye.
Overview of Easy Techniques for Beginners: No Brush, No Problem
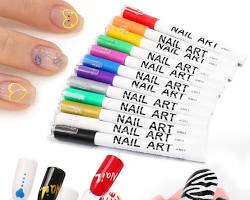
Fear not, nail art novices! You do not even have to be an accomplished manicurist to jump on the DIY fun. There are many simple methods that even the least artistic can learn. We’ll be diving deep into these beginner-friendly methods, like:
• Dotting: You can use dotting tool or the end of bobby pin to make playful polka dots, dainty daisies or even intricate constellation on your nails.
• Taping: Such technique enables you to have clear lines, geometrical shapes and even French manicure with no effort. Simply tear off strips of your preferred pattern, paint over and there you go! Instant nail art magic.
• Stamping: Do not make free-hand problems in nail stamping plate skippings. These handy little implements enable to press, and then peel off extremely complex designs on your nails.
These only represent a few basic ones out of an unlimited assortment of beginner-friendly techniques just to be discovered. Therefore, get those favourite polishes together with your tools and let the nail art artist in you come out!
Tune in next week for Part II, where we’ll go through the necessary steps to get ready for an adventurous manicure.
Classic French Tips for Timeless Elegance
The French tip – an eternal Simple Nail Art Designs classic that oozes classiness and carefree style. It is simple and elegant enough to have been associated with people of all ages such as Audrey Hep burn, Gigi Hadid while remaining versatile for various occasions. However, achieving the ideal French manicure poses a challenge to newbies. Fear not! Following this guide, the process will be divided into smaller manageable steps that you will be able to rock those elegant tips like a professional.
Step-by-Step Guide to French Tips:
Prep and Prime: Ensure you have clean and shaped Simple Nail Art beds for a perfect canvas. For a smoother polish application, apply a thin coat of base coat to protect your nails as well.
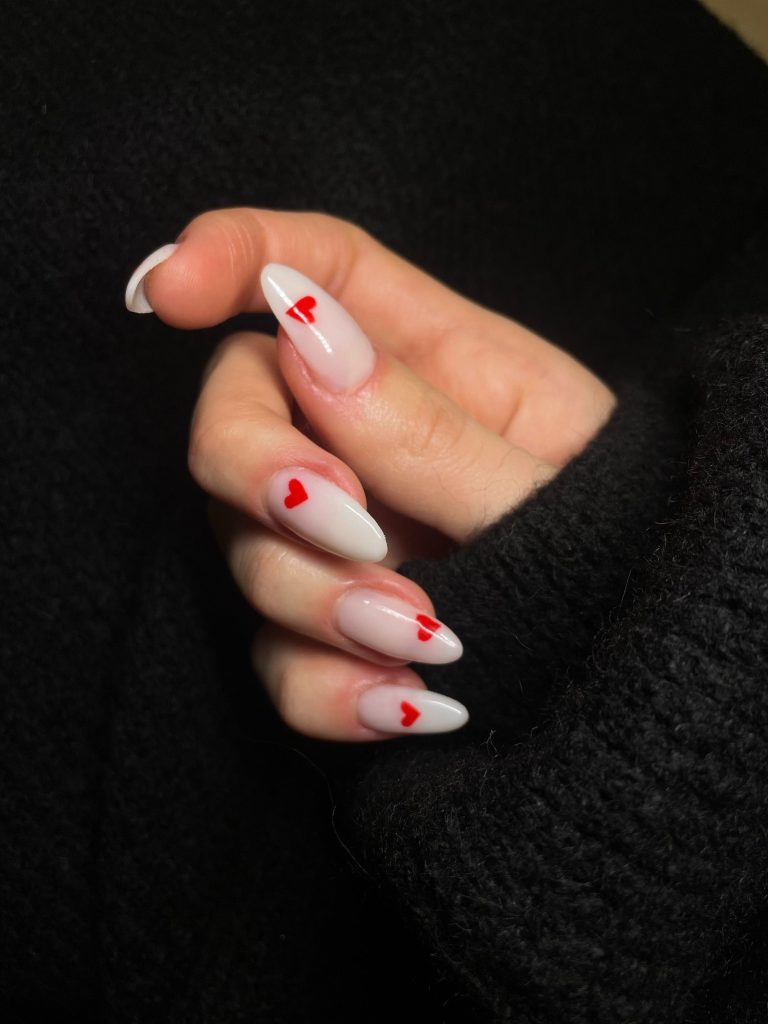
White Out: Use a thin brush or French tip (Optional) guides to paint clean and crisp white line at your nail tips. First start by making sure you get clean edges rather than perfect ones.
Buff and Shine: Buff the edges very carefully to ensure they melt into the base colour. Use a top coat for the final touch, more shine and protection against chipping.
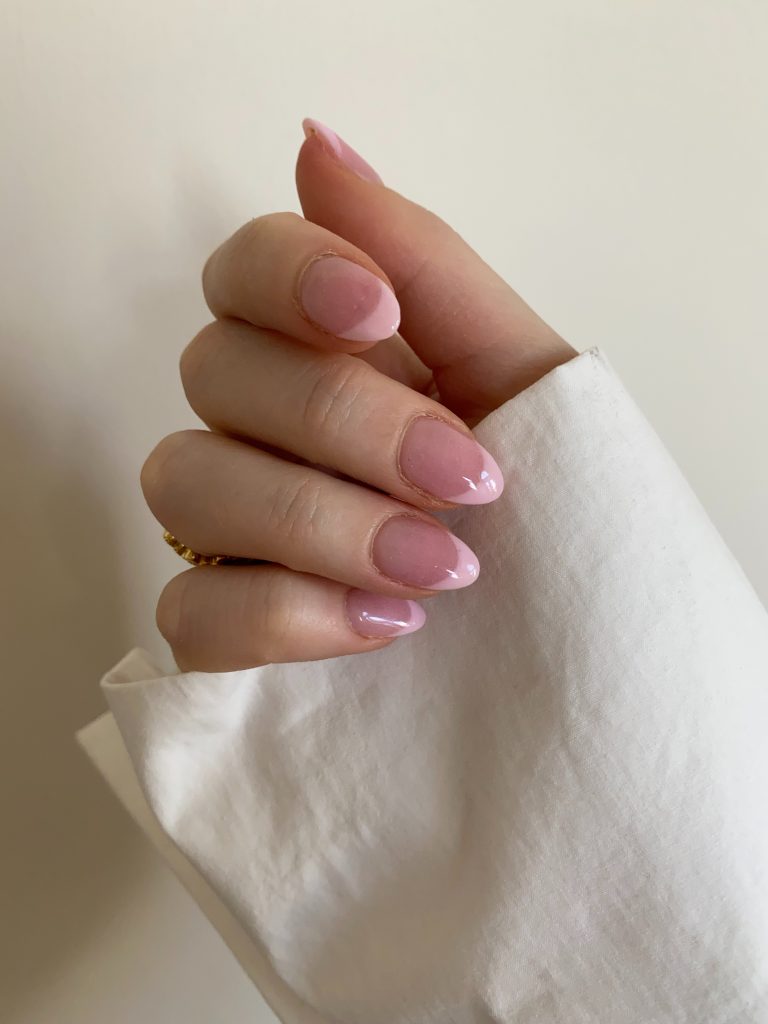
Bonus Tip: Instead of white, use a sheer pink or beige polish on the tips to create a more natural look.
Adding Variations with Colored Tips:
Refusing to accept the norm! They are just the basics of classic French tips. Experiment with different colors for the tips, like:
• Pastel hues: Lavender, mint green, or baby blue give that touch of whimsical charm.
• Metallic accents: Glamour is added instantly by using gold, silver, or rose gold tips.
• Neon pops: A bright orange or hot pink tip can help state a bold statement.
Stripes and Lines for Modern Minimalism
Ditch the extras for a simple world of stripes and bars! The darlings of modern minimalism – these are the geometric elements that bring architectural precision and urban chic to your fingertips. If you’ve got your own unique style mastered for the straight line or free-hand, there is a strip Simple Nail Art design for you ready to be your next masterpiece.
Achieving Sleek Striped Simple Nail Art Designs:
Choose your canvas: Go for such clean, neutral base colors as black, white, beige and nude that will allow the lines to lead.
Brush or tape it up: Use finer brushes and steady hands for crisp, thin lines. Feeling less confident? No worries! But nail tape comes to your rescue, and helps in making perfectly straight lines.
Play with thickness and spacing: Play around with various line widths and spacing. Thin strokes for a delicate touch or bold stripes for a statement look. The possibilities are endless!
Bonus Tip: For maximum impact, utilize contrasting colors. Black stripes on a white base or the golden lines on a dark blue canvas.
Floral Flourish for a Touch of Nature
Paint the town or rather have colored blooms on your nails. Flowers nail art celebrates nature’s beauty and adds a bit of fairy tale to your nails. From blossoms for a botany aficionado to just flowers, a blooming design awaits your nails.
Simple Flower Designs for Every Season:
Spring: Lovely spring flowers, such as sensitive daisies, beautiful cherry blossoms, and tender lavender sprigs evoke the feeling of refreshing life itself. Emulate the season’s soft colour palette using light pastels, and delicate gradients.
Summer: Vibrant sunflowers, blazing poppies, and summer hibiscuses exude the summer’s vigor. In order to embody the sunshine, use warm colors, and playful patterns to bring the sunshine to your fingertips.
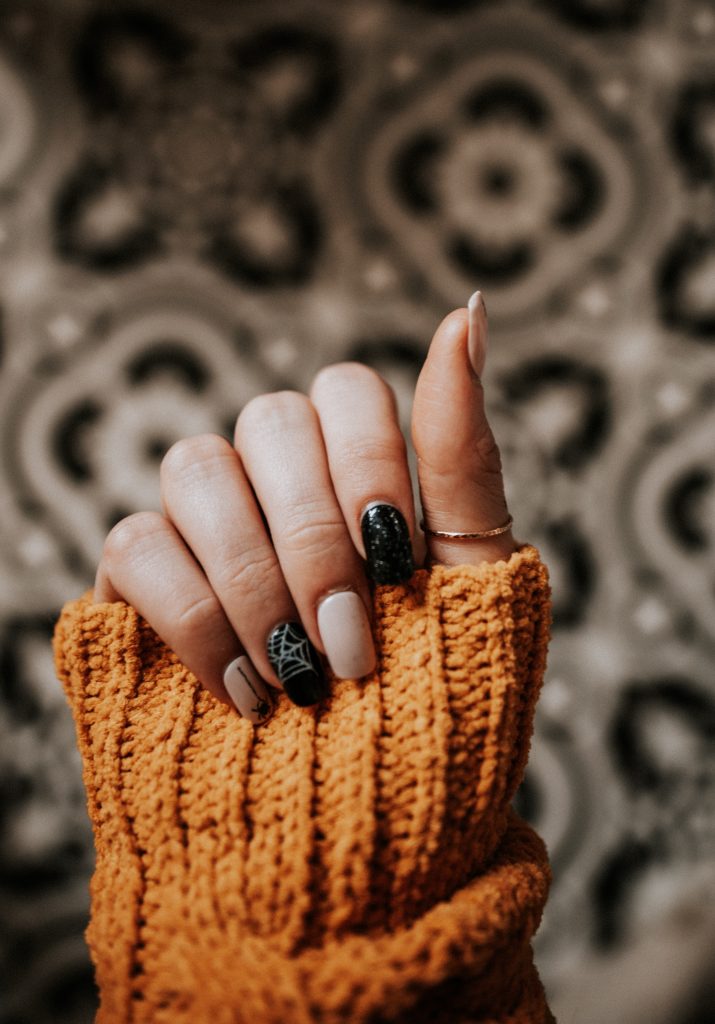
Autumn: Rich burgundy roses, fiery red maple leaves, and delicate chrysanthemum represent the colors of an autumn. Go for the sophisticated but casual look with some metallic accents and some earthy tones.
Winter: Winter magic on your nails include snowflakes, frosted poinsettias, and snowdrop buds. Create a magical winter wonderland with soft hues, shimmery polishes, and slim lines.
Bonus Tip: Unsure whether you can draw well with your hands? Think stencil and nail-art stickers! They provide different floral motifs in various shapes and sizes for both newbies and advanced nail art lovers.
Tools and Techniques for Petal Perfection:
Dotting tool: This is your secret weapon for circles, centre of petals, and fine drops of water that make up perfectly.
Angled brush: The flexible brush will enable you to make sharp strokes for the edges of leaves or stems.
Thin brush: Fine brush is your best friend when considering even tiny aspects like stamens and veins.
Blending sponge: Using a dry sponge dipped in polish, gently pat your design for softer gradients and more natural shading effects.
Bonus Tip: Do not avoid color mixing at all costs! For depth, or for a bold contrast use contrasting colors or layer varying intensities.
Conclusion: Unleashing Your Inner Simple Nail Art Designs Artist
The DIY nail care includes French Classic, Modern with polka dots, and flowery. It provides a refreshing outlook, a place where you color yourself, and a way to add magic into any occasion.
Therefore, throw away the old manicure and have some fun by painting your own masterpiece. Note that each mistake is nothing but a lucky slip or a lesson to be learned and to improve. Put on your best polishes and bring your devices together to unleash your creative self. Just trust me; you will be amazed by what you make with these tiny pieces.
FAQs:
I’m a complete amateur. Is nail artwork too tough for me?
Absolutely now not! There are endless smooth-to-research techniques that even the most artistically challenged can master. We’ve blanketed several amateur-pleasant strategies for the duration of this guide, like dotting, taping, and stamping. Don’t be afraid to test and discover what works first-rate for you.
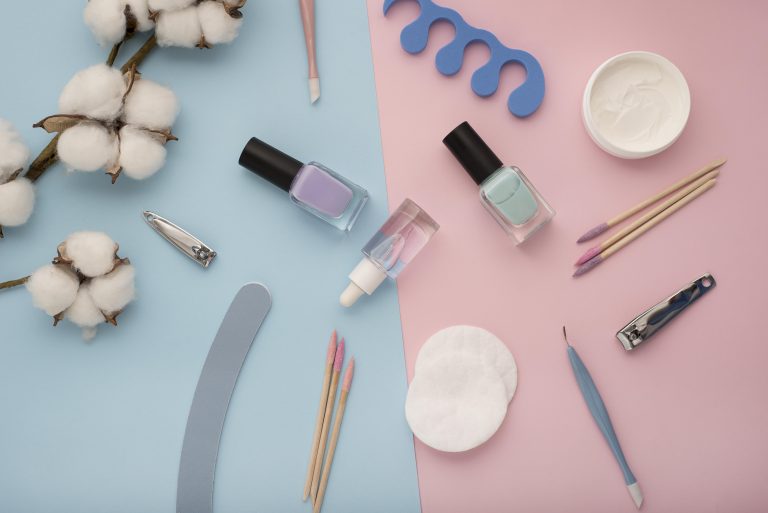
What are the critical gear I need for DIY nail art?
You don’t want a flowery arsenal of equipment to get began. Basic necessities include:
• Base coat and pinnacle coat: These shield your nails and make your polish remaining longer.
• Dotting tool: Perfect for creating polka dots, flower centers, and different small info.
• Angled brush and skinny brush: For attaining clean strains, outlining shapes, and adding tricky information.
• Nail polish remover: For those inevitable cleanup moments.
How can I find thought for my nail artwork designs?
Inspiration is everywhere! Look at style magazines, nature, summary art, and even your favorite Pinterest boards. Don’t be afraid to combine and match distinctive elements to create your personal particular style.
What are a few tips for retaining my nail art looking exact?
• Apply a top coat for added shine and chip resistance.
• Avoid using harsh chemical compounds or acetone-based totally merchandise on your nails.
• Wear gloves whilst doing chores or cleaning to guard your nail cutting.
• Moisturize your palms and cuticles often to hold them healthy and save you chipping.
Remember, the maximum critical aspect is to have amusing and experience the system! Don’t be afraid to test, make errors, and research from them. The global of DIY nail artwork is your oyster, so pass forth and create!